3 Log in to Galaxy
3.1 The Galaxy workspace layout
After you log in, you will meet the Galaxy workspace, which should look like Figure 3.1.
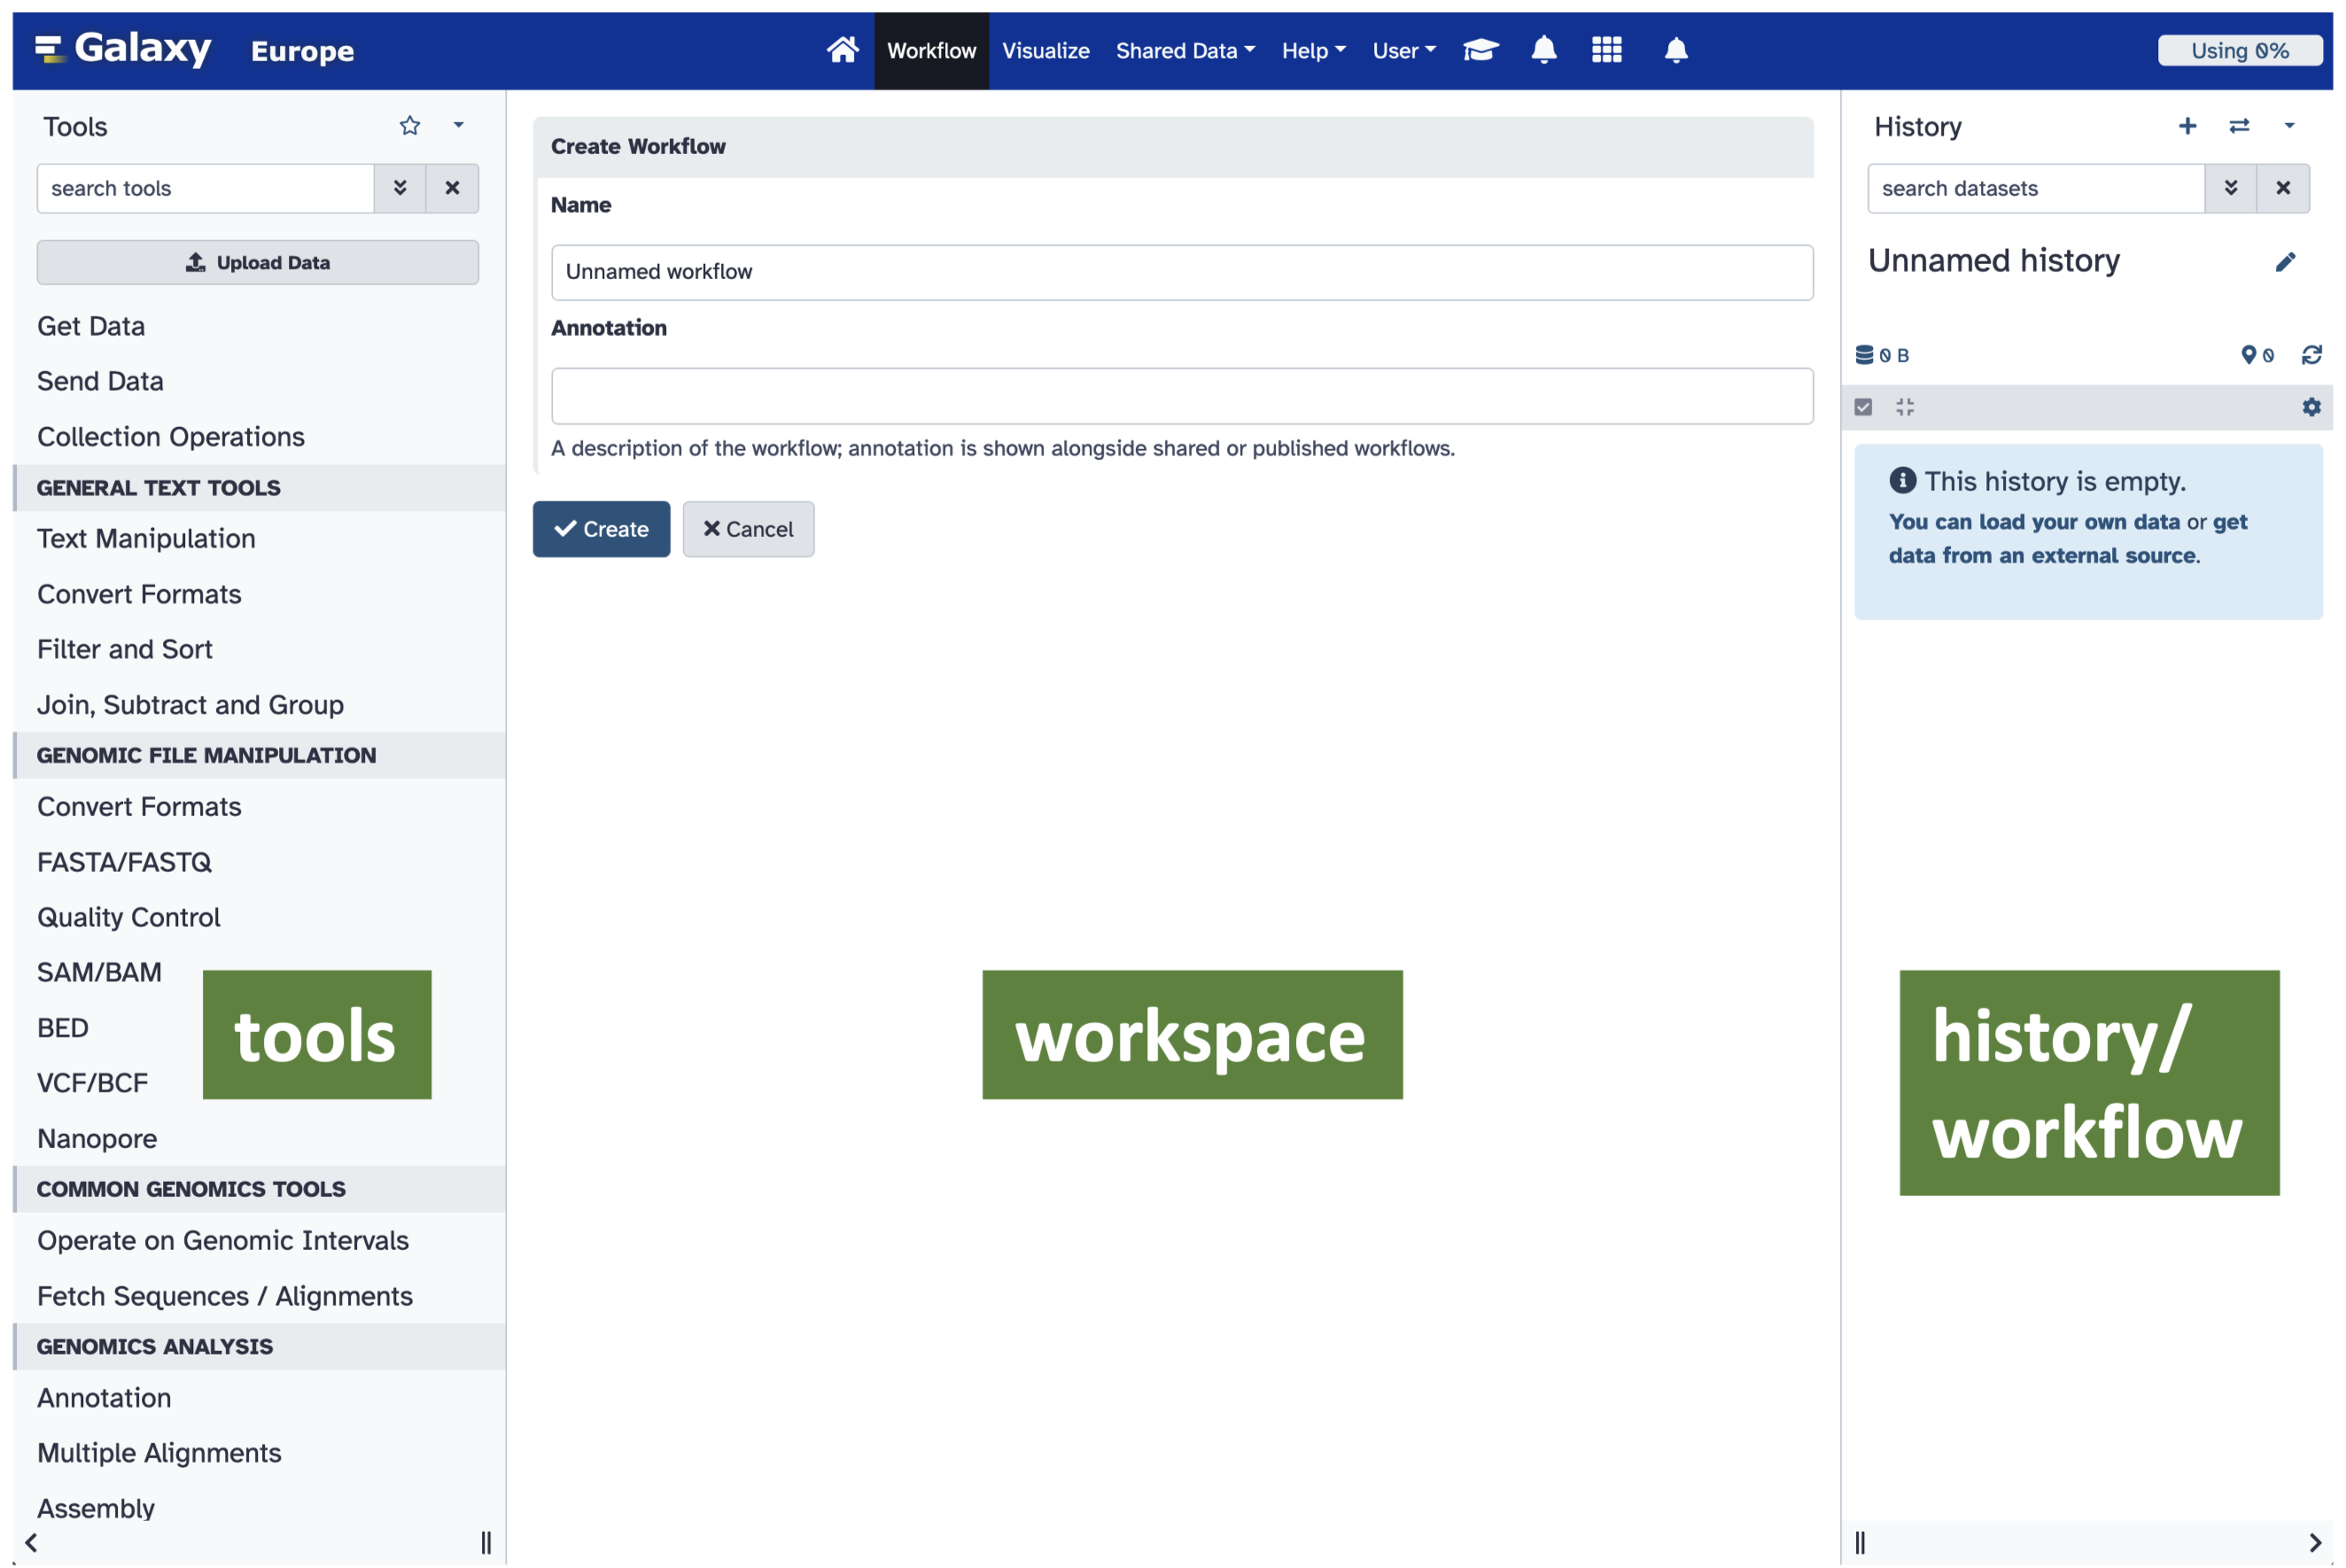
Tools sidebar, which presents the software tools available on the current Galaxy instance. On the right is the History or Workflow sidebar, which describes the data and steps being used in the current Galaxy workflow. The largest section, in the centre, shows details of a selected tool including options to set or change parameters, or the contents of the dataset, depending what is selected from the History sidebar.
Tools sidebar
The Tools sidebar on the left of the window initially presents all the tools available on the Galaxy instance being used. These are grouped into sections by the kind of task they can be used for, such as manipulating text, or assembling sequenced reads.
This sidebar also provides useful links, such as for uploading your own data to the Galaxy instance (Upload Data), and for importing data from public databases, like Ensembl. There is also a search field at the top of the sidebar which initially contains the text search tools. You can enter the name of a tool or action into this field, and the sidebar will present the matching software on the Galaxy instance.
History/Workflow sidebar
The History/Workflow sidebar at the right of the window will initially be empty. As you work through the exercises this sidebar will become populated with your data, the actions you take on the data, and the results of those actions. The History will have no name specified, so you should see the placeholder Unnamed history, and the text This history is empty.
When you log into a Galaxy instance that you have used before, you may see the most recent history/workflow that you used, and you may have options for loading previous histories/workflows into the current workspace.
Workspace
The largest, central region of the window is the Workspace. This is an area that presents several kinds of information. Depending on context, it may provide information about the Galaxy instance, present datasets (or summaries/visualisations of datasets), or ways to interact with the individual tools that you will use.
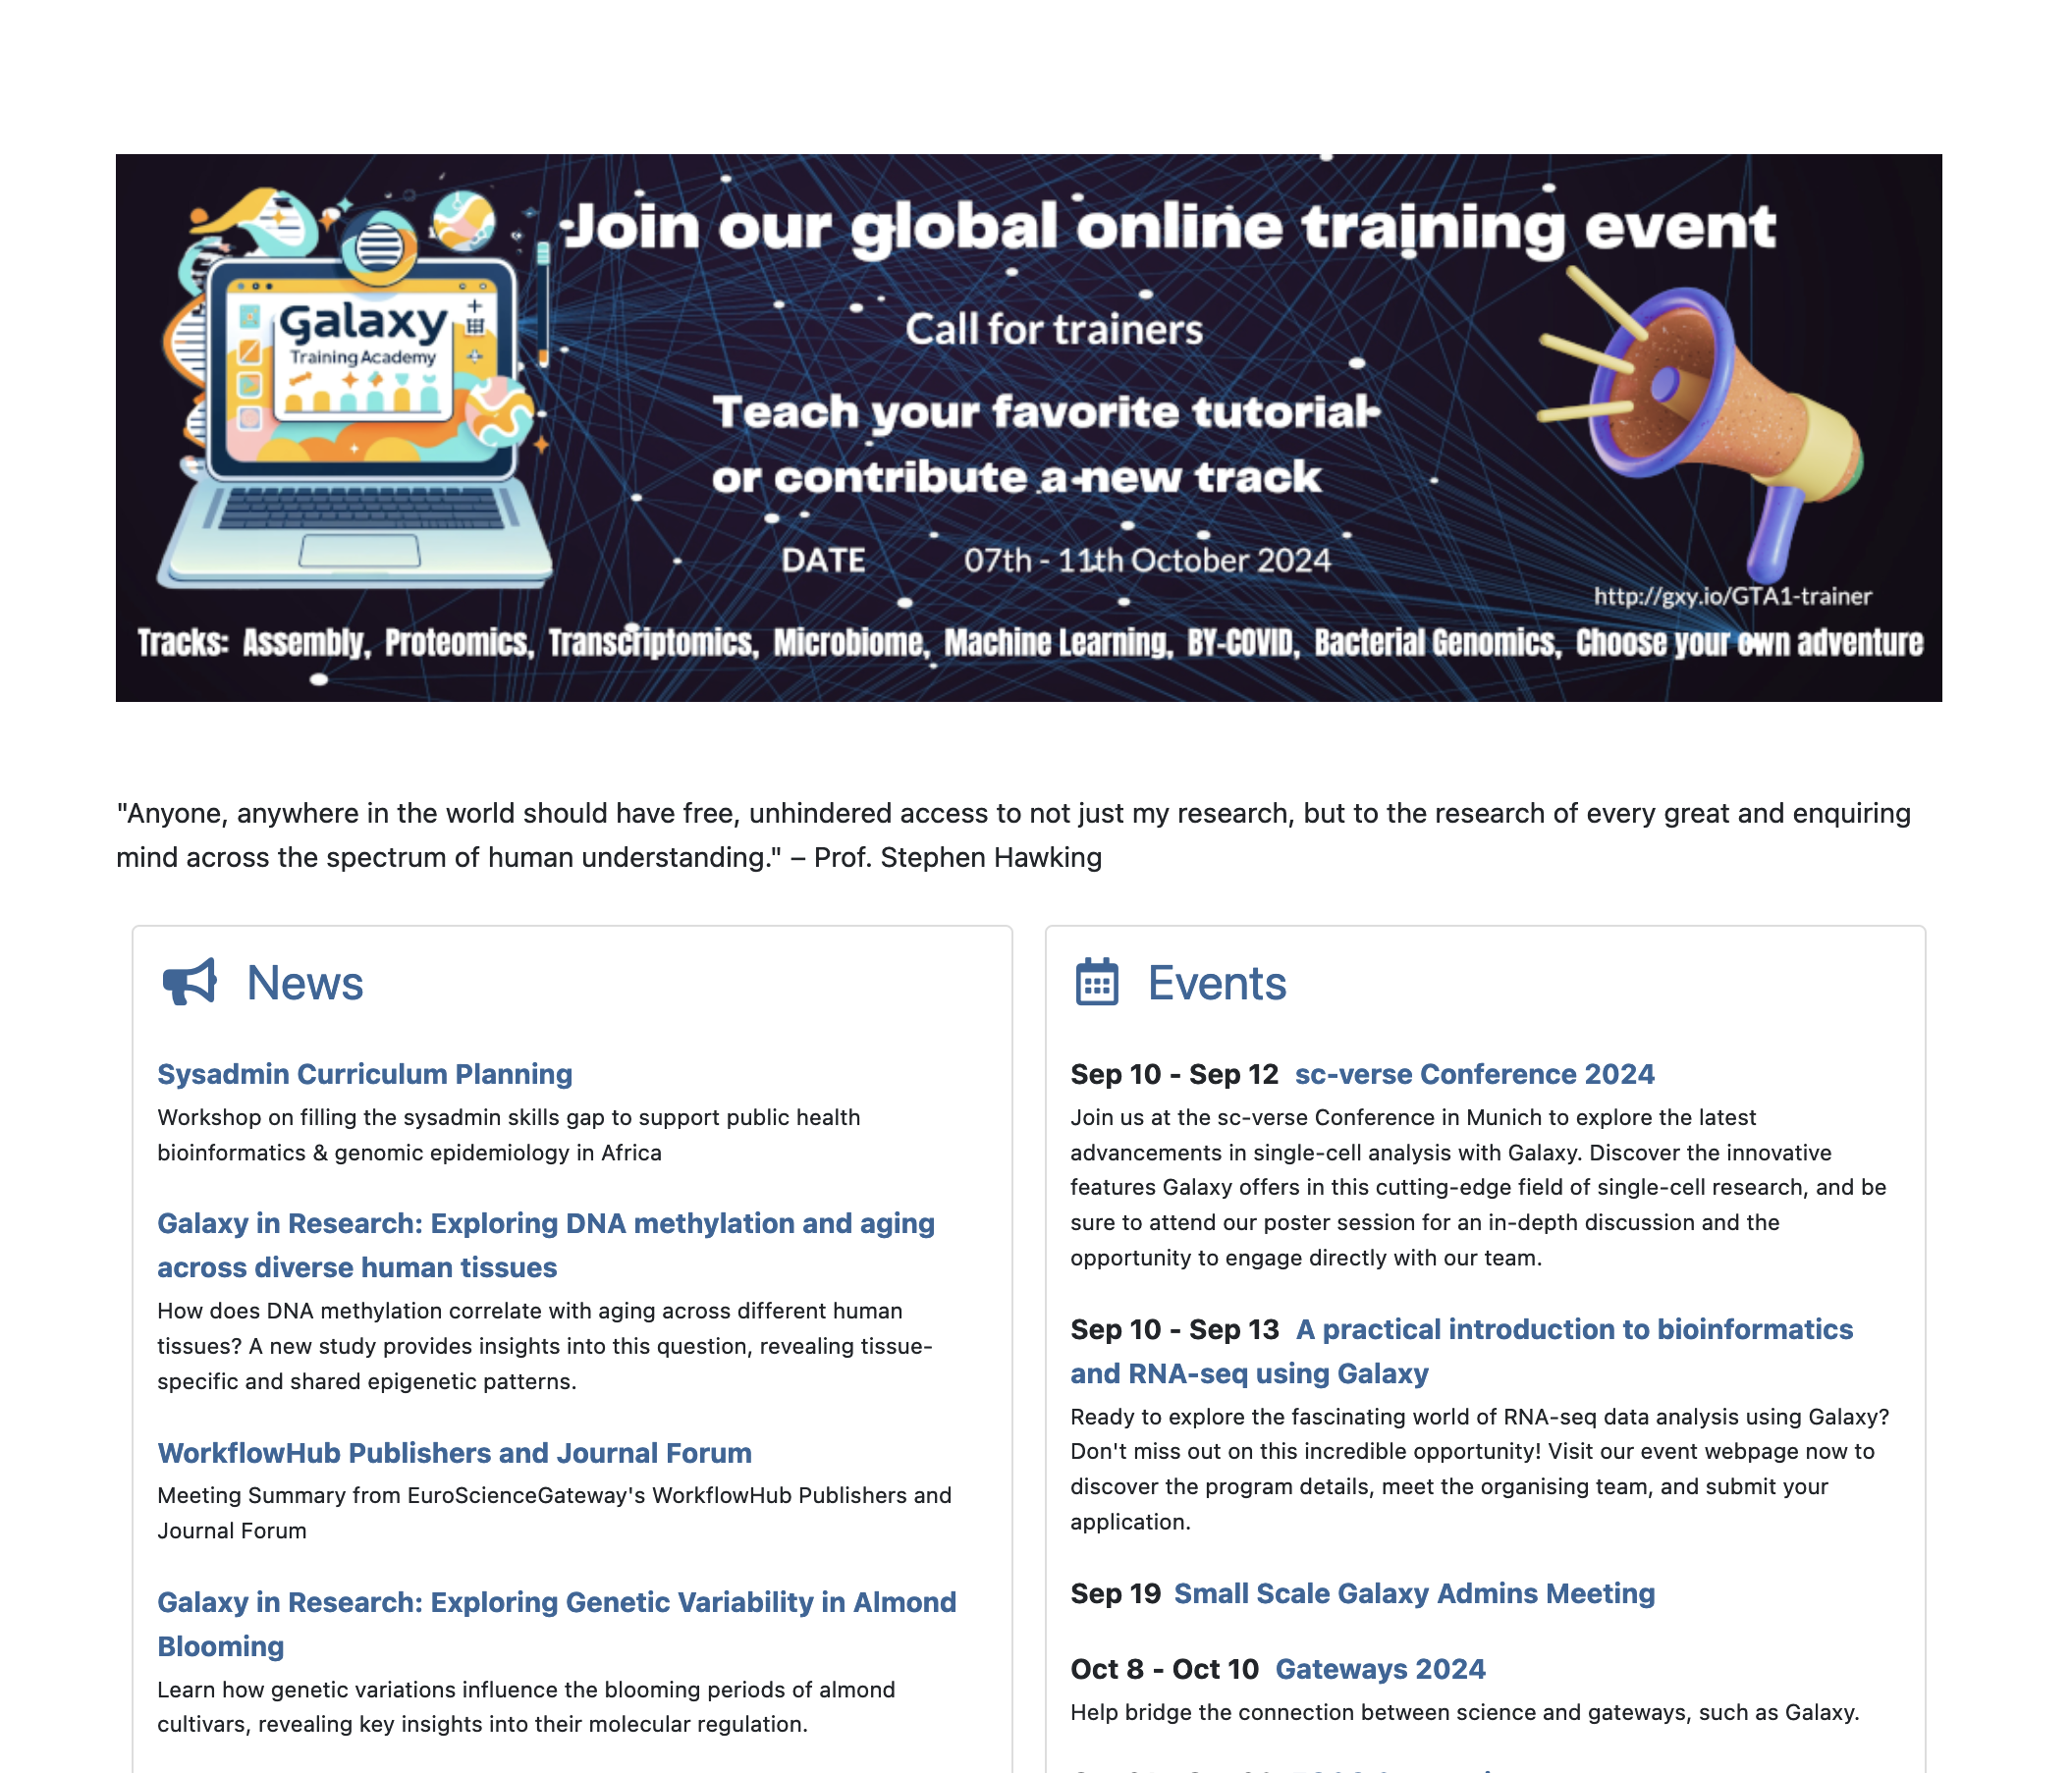
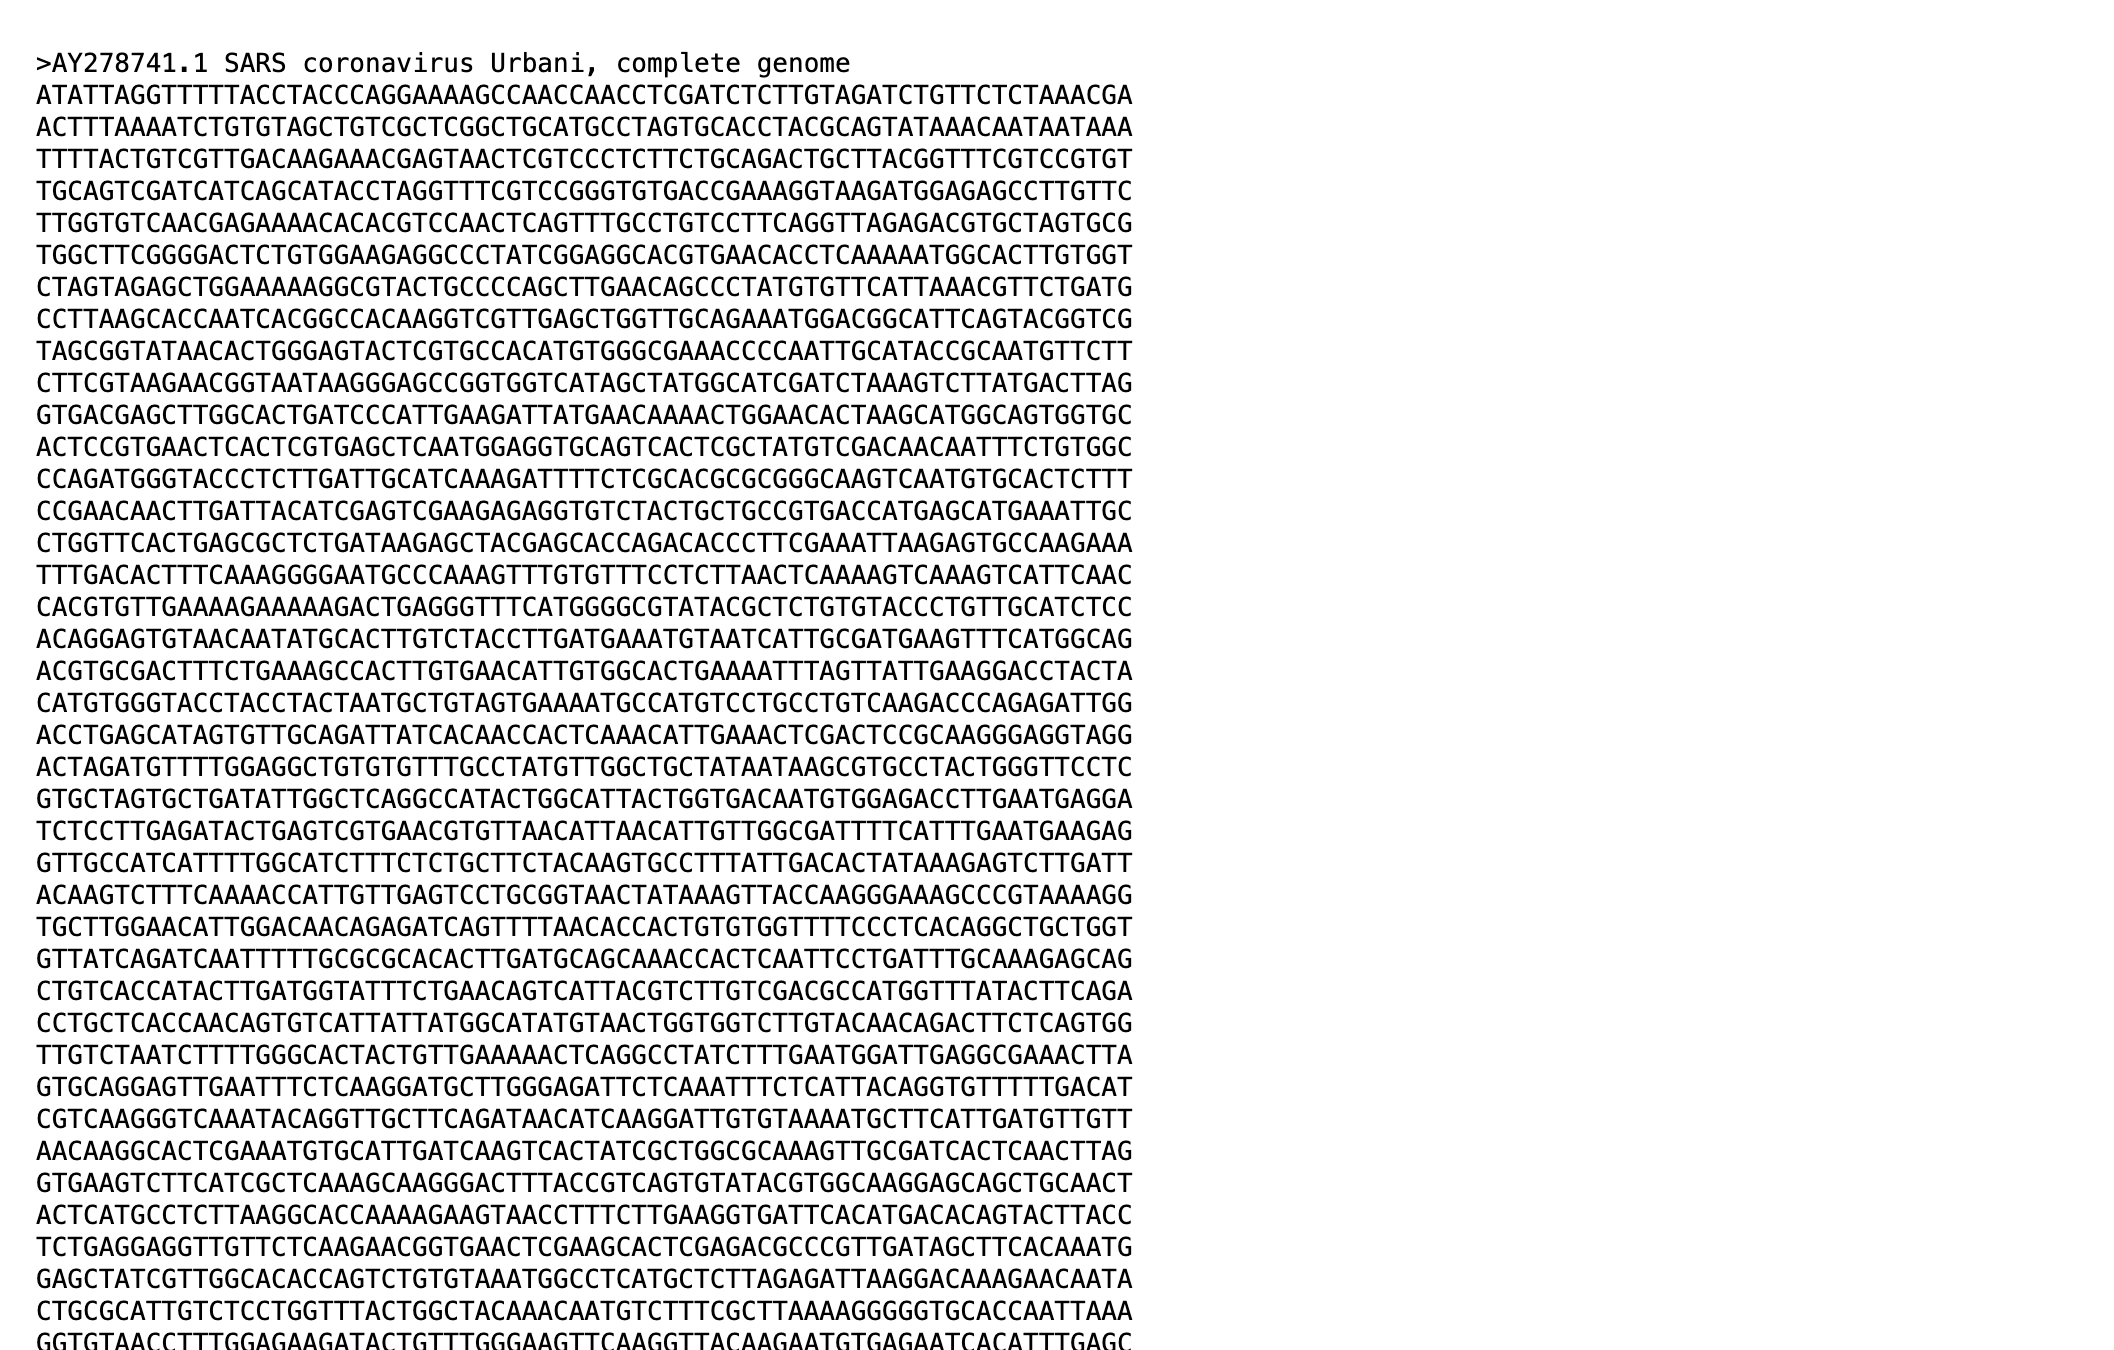
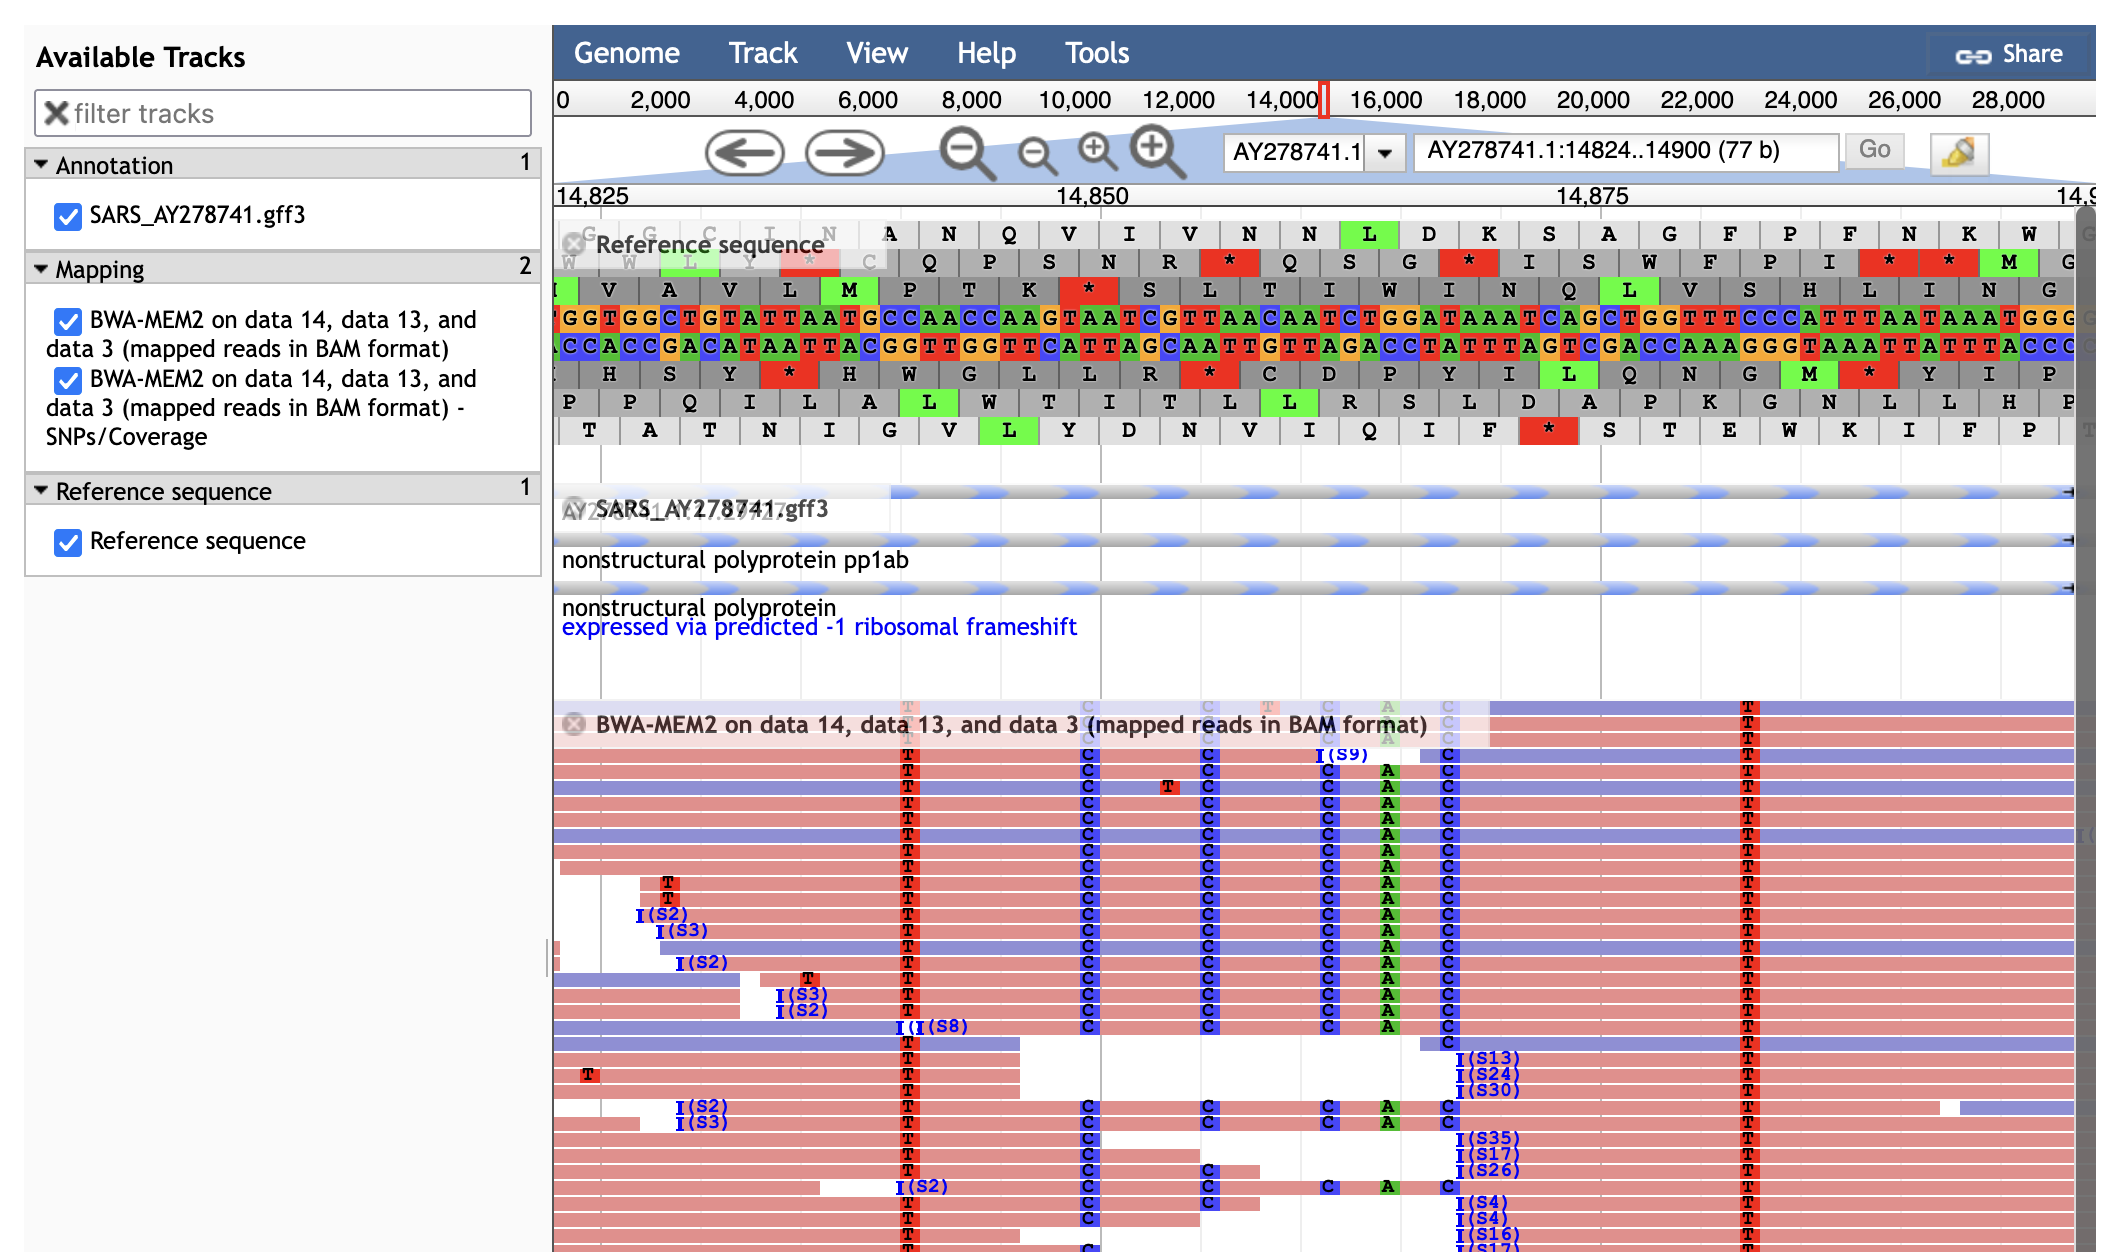
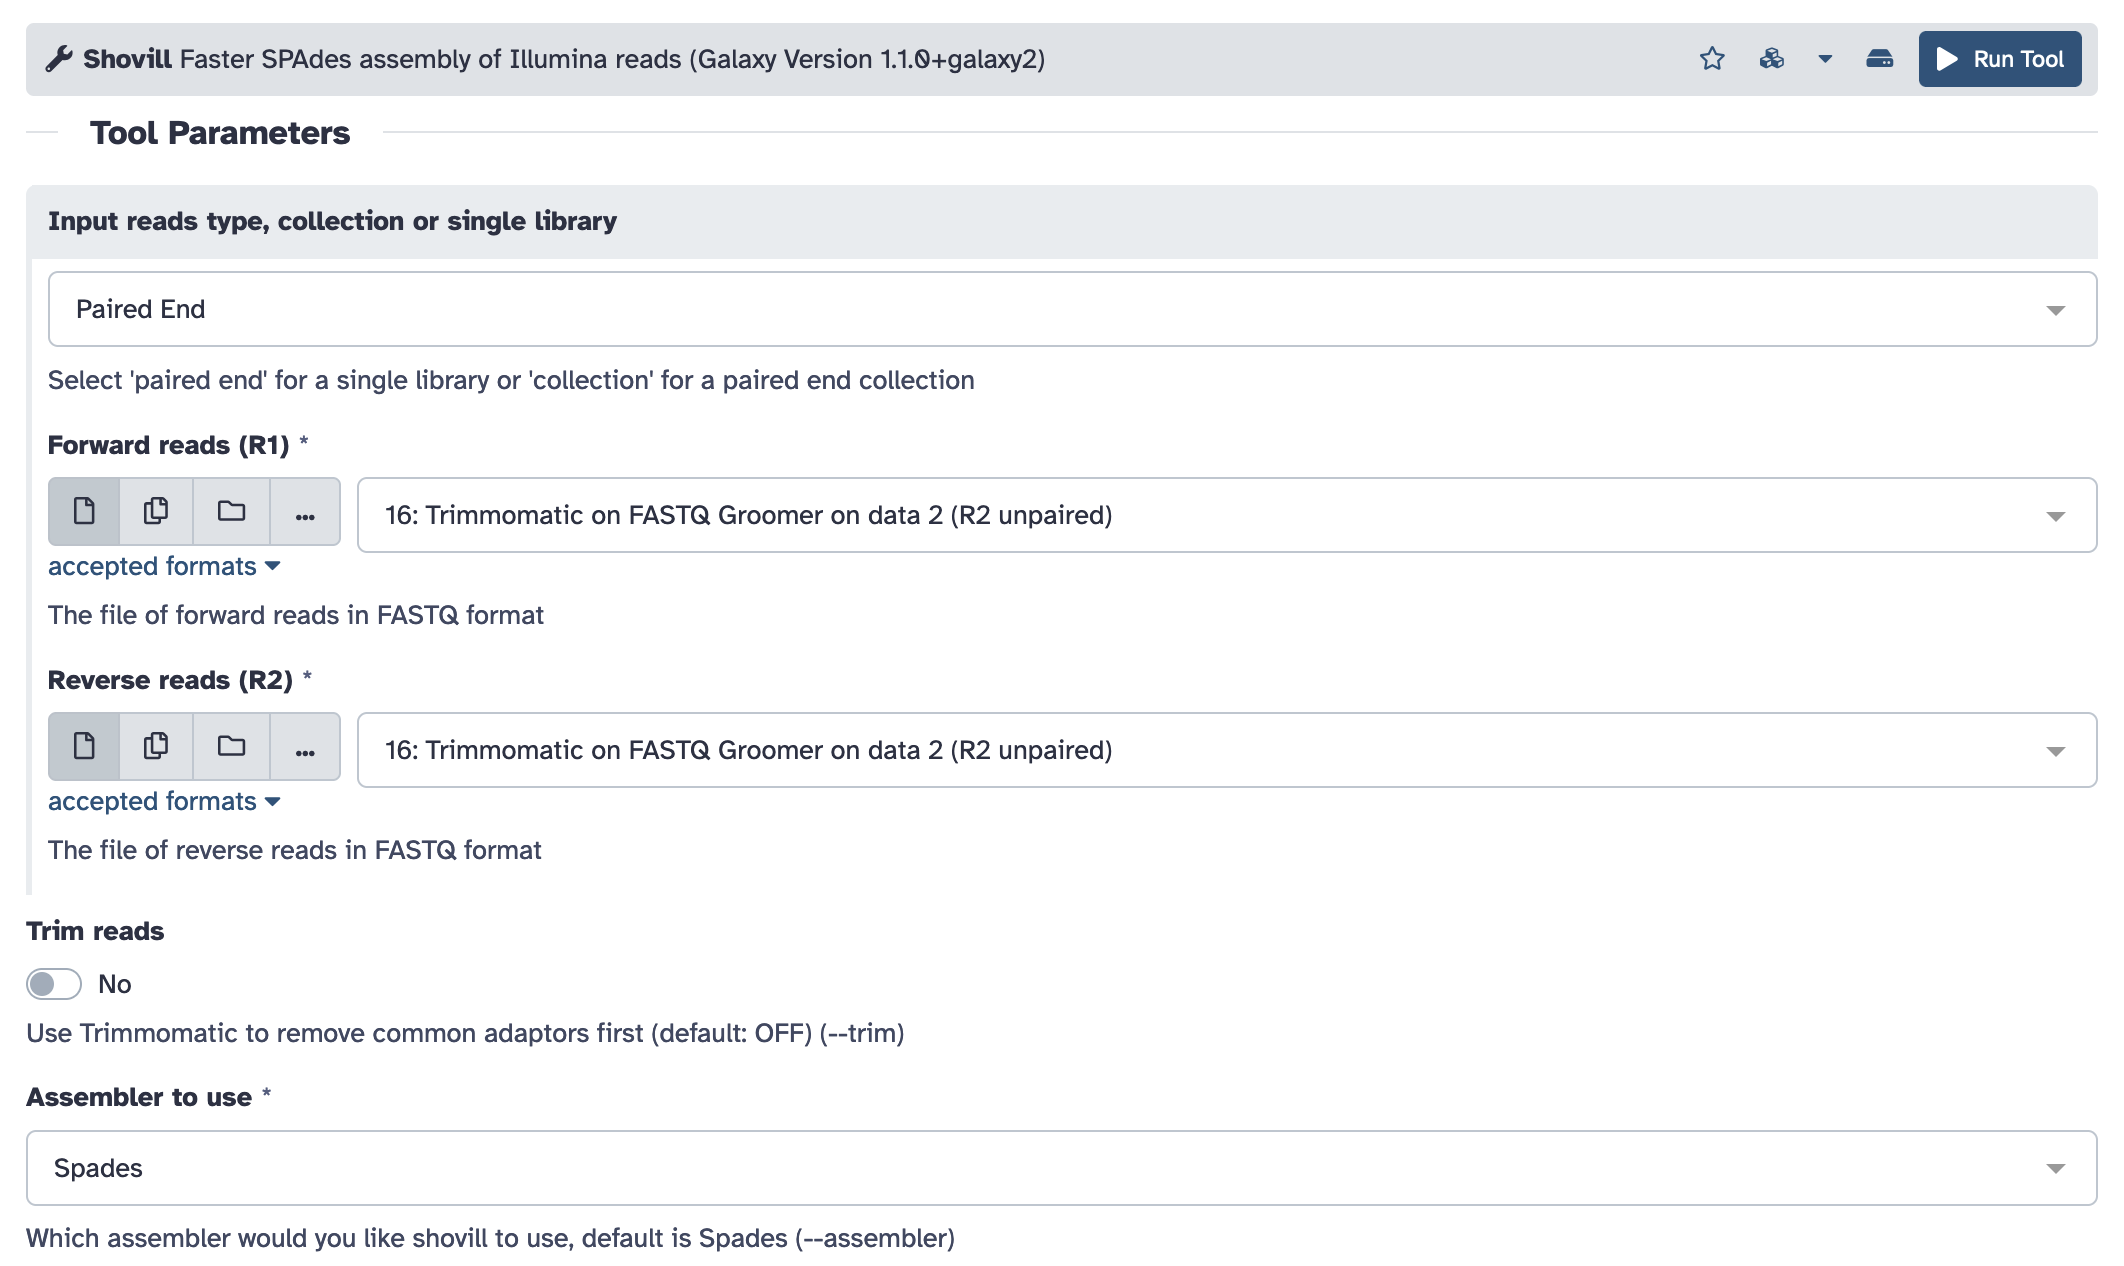
Workspace area in Galaxy.
3.2 Give A Name To The History
It is helpful to give the workflow/history that you work with a name. This will help you find it again when you reuse the Galaxy EU instance.
- When you name a workflow, give it a concise title that expresses the purpose of the workflow.
- You can also add annotation that describes the workflow and provides more information than the name alone conveys.
- You can rename or re-annotate your workflow at any time.
To assign a name to your workflow:
- Click on the pen icon next to
Unnamed history - Enter a name for the workflow in the top
Unnamed historyfield - Enter additional text describing the workflow in the lower
Annotation (optional)field - Click the
Savebutton.