17 Add an Experiment Node
The first node we will add to our design is an Experiment node.
The Experiment node is necessary for EDA feedback to work correctly.
The Experiment node provides destails about the experimental hypotheses, and the effect of interest. It can contain a number of annotated properties, important to the experiment, including:
- Label: the name of the experiment
- Description: a longer account of the experiment
- Null hypothesis
- Alternative hypothesis
- Effect of interest
- Effect size
and so on.
17.1 Getting Help
- Move your mouse pointer over the Experiment node in the EDA window. Note that the entry in the list is highlighted, and a blue question mark appears.
- Click on the blue question mark. This brings up the
Help Centrepopup (Figure 17.1).
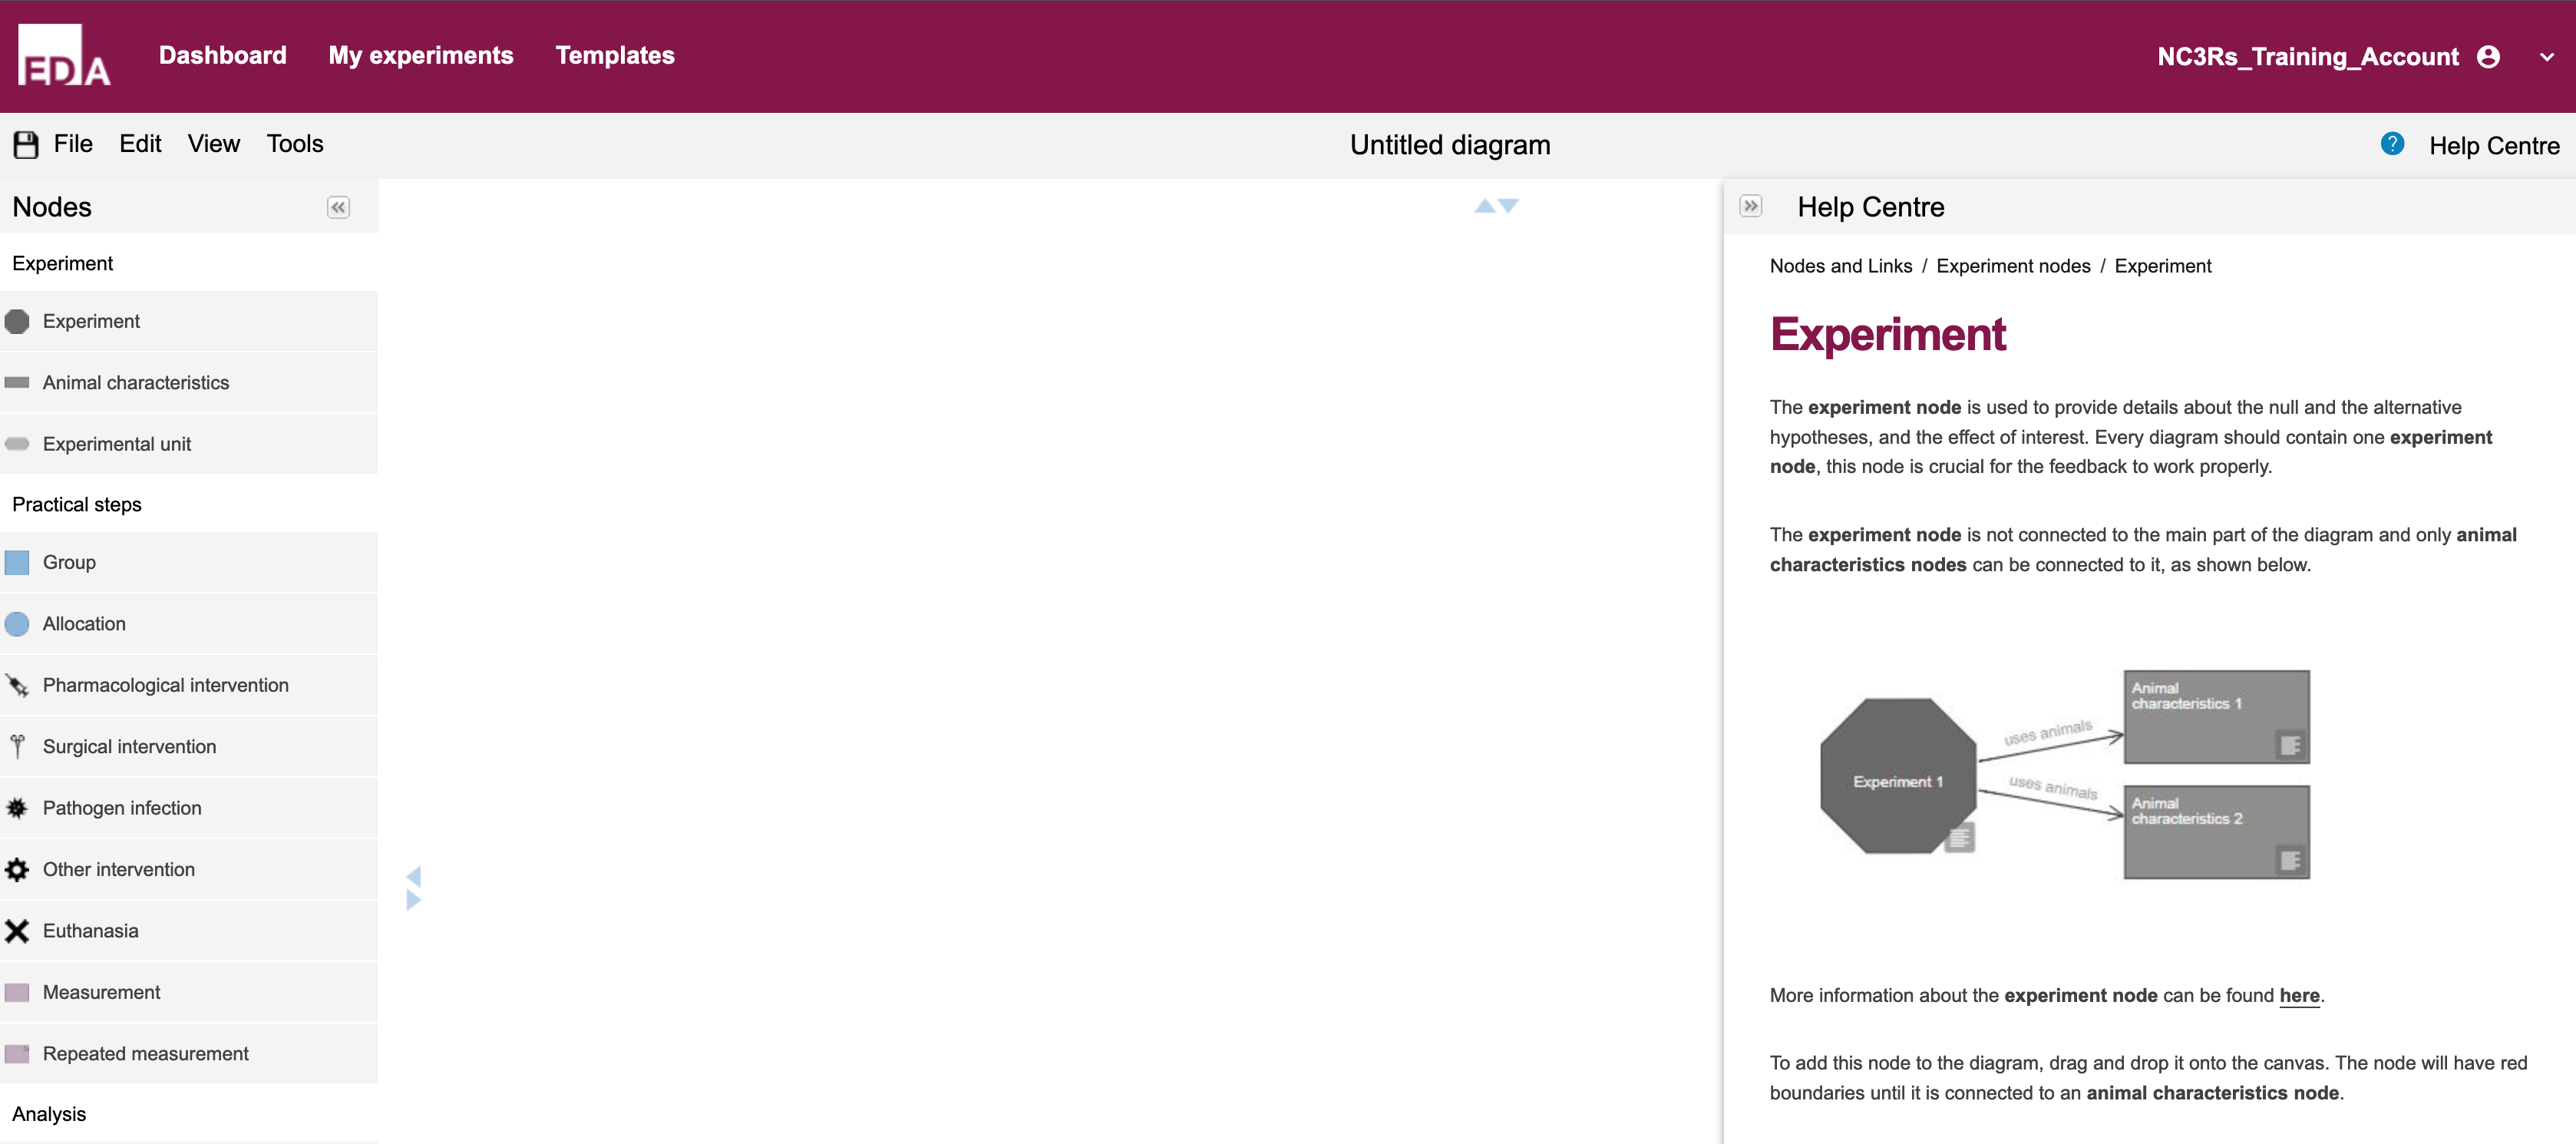
All entries in the sidebar list of nodes have a corresponding Help Centre information page. You can bring this up by moving your mouse over the entry in the sidebar, and clicking on the blue question mark for the node of interest.
The Help Centre will remain open by default. To hide the Help Centre, click on the two chevrons at the top left of the Help Centre popup.
To reopen the Help Centre, you can also click on the Help Centre link at the top right of the EDA. This will open up a browseable set of help pages, including HowTo guides that can be useful to supplement this walkthrough.
17.2 Add an Experiment Node
- Click and hold on the Experiment node in the sidebar.
- Drag and drop the Experiment node on the main canvas to place a blank Experiment node (Figure 17.2).
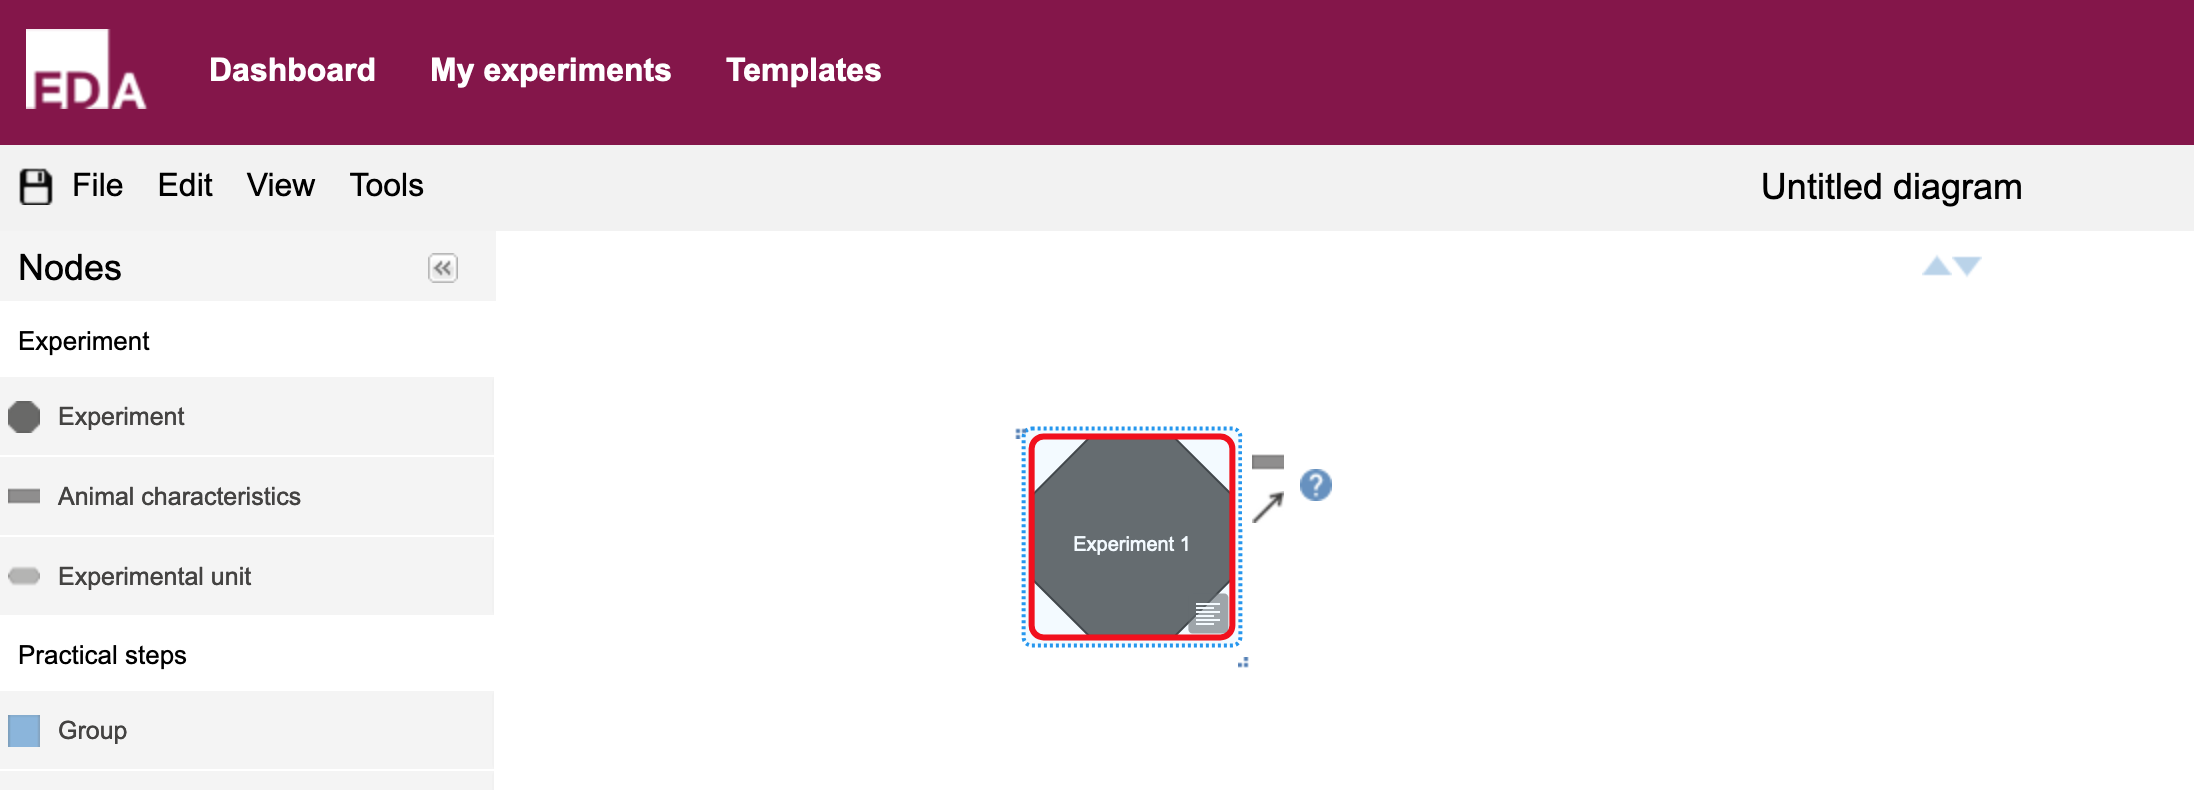
The Experiment node is initially surrounded by a red square to indicate that there is a problem with our diagram. At this point, we have not connected the Experiment to any Animal characterisics nodes, or filled out essential property information. As we progress with our diagram and fill out all the necessary parts of the experimental design, the red square will go away.
17.2.1 Edit node properties
We need to fill in some information in our Experiment node’s properties.
- Click on the
propertiesicon in the bottom right of the node icon (it looks like six short horizontal lines). This will bring up theNode propertiesedit dialogue box (Figure 17.3). - Enter relevant information for each field, where you have it.
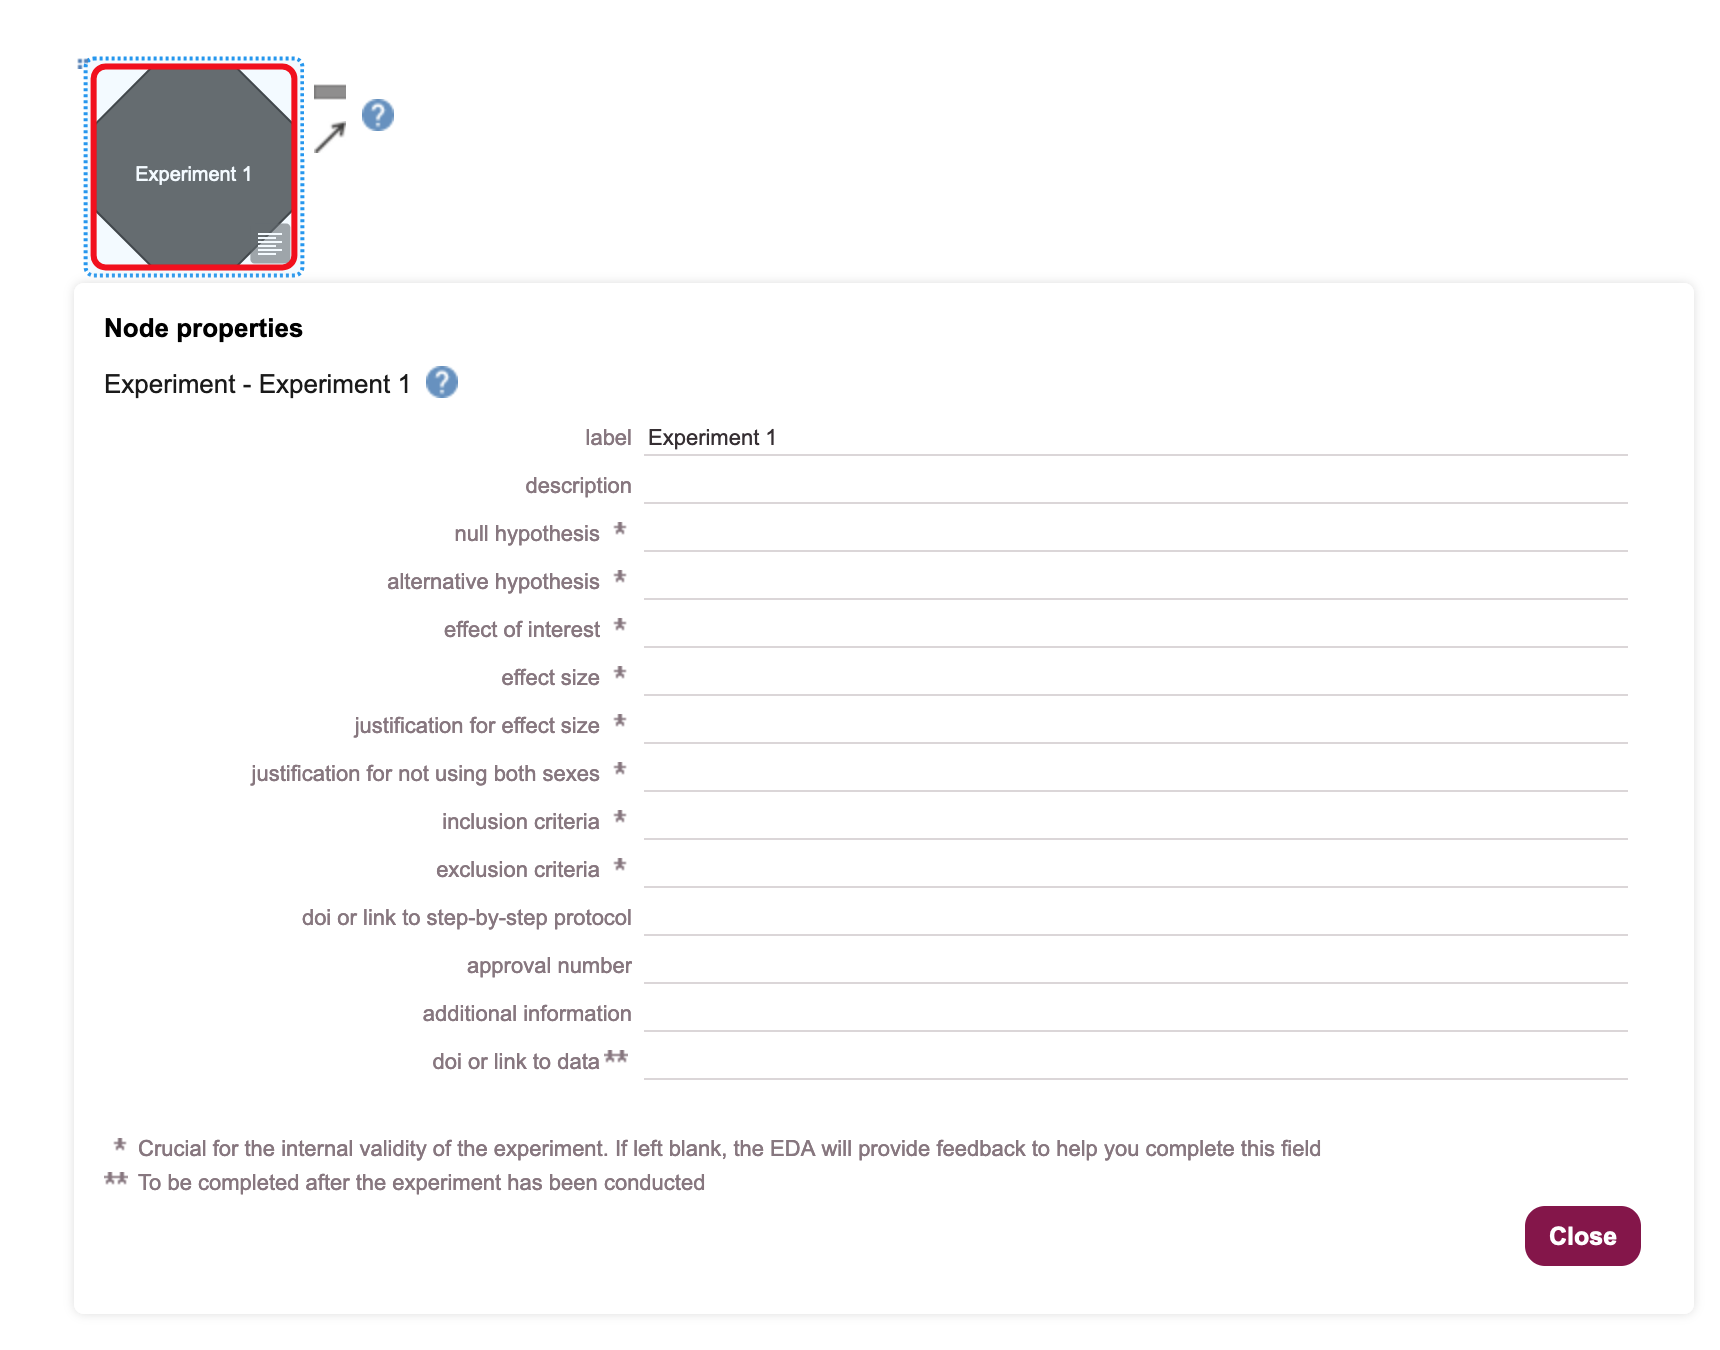
- Change the text in the label field to read “Effect of drug A on plasma glucose levels”.
- Leave the other fields blank for now, and click on the
Closebutton.
A node’s properties dialogue box will indicate that some fields must be filled in for the internal validity of the experiment by marking them with an asterisk (*). If we do not enter information into these fields, the EDA will notice this and provide feedback for how to fill in the field.
You can also bring up the Help Centre popup by clicking on the blue question mark, which will provide further information about how each field should be completed.
17.3 Add an Animal characteristics node
The Animal characteristics node describes the characteristics of the animals used in the experiment.
If the animals in your experiment have distinct characteristics, such as sex (males/femailes), or different genotypes, then multiple Animal characteristics nodes should be used.
Only Animal characteristics nodes can be connected to an Experiment node.
- Move your mouse over the grey box just to the right of the Experiment node to bring up the tooltip information (Figure 17.4).

- Click on the grey box. This will link the Experiment node to a new Animal characteristics node (Figure 17.5).
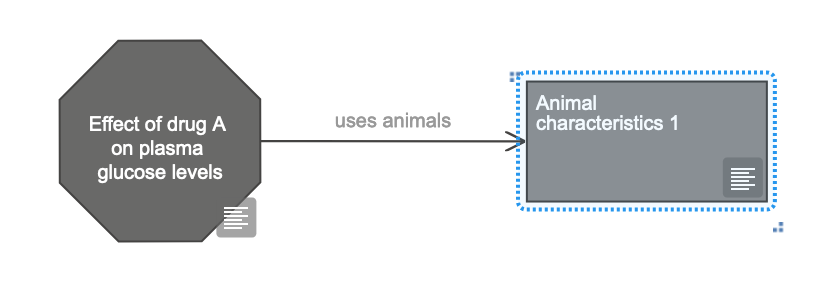
- Click on the
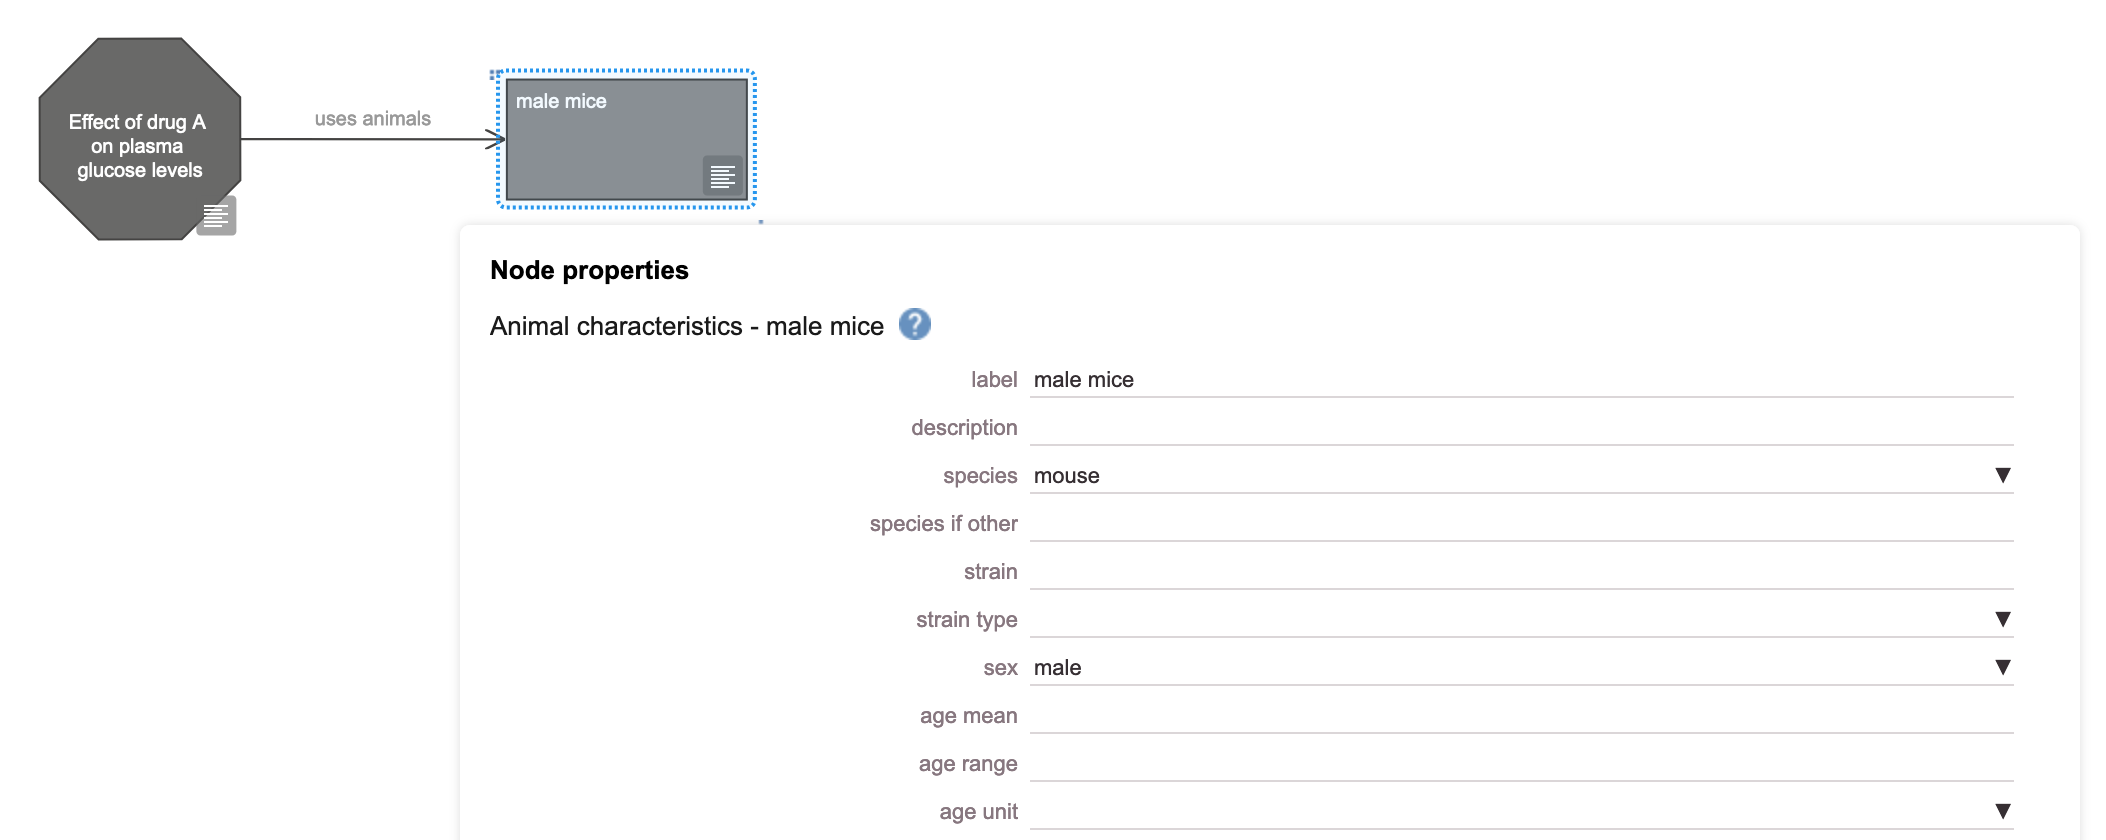
propertiesicon for the Animal characteristics node - Change the label to “male mice”
- Change the species to “mouse” (this is a drop-down choice)
- Specify sex as “male” (this is also a drop-down choice)
- Click on the
Closebutton to close the dialogue box (Figure 17.6)
