18 Assign Experimental Units
Assignment of individuals to appropriate groups is an essential part of experimental design. The NC3Rs EDA provides two nodes to help us describe how this assignment is performed in an experiment:
- Group, which describes a group of individuals
- Allocation, which describes how individuals are taken from one group, and allocated to another
For example, if we have an initial pool of all our experimental subjects, this will be one Group node. Should we want to assign evert individual from this group to one of two new groups, one receiving the treatment and the other receiving a control, then we would need two new Group nodes (one for control, one for treatment), and an Allocation node to represent our assignment of individuals from one group to another.
We will carry out this process for our experimental design:
- all individuals initially belong to a single pool
- individuals are assigned from this pool either to a treatment or a control group
- a complete randomisation allocation process is used to assign the subjects to these groups
18.1 Create the experimental subject group structure
18.1.1 Add the initial pool
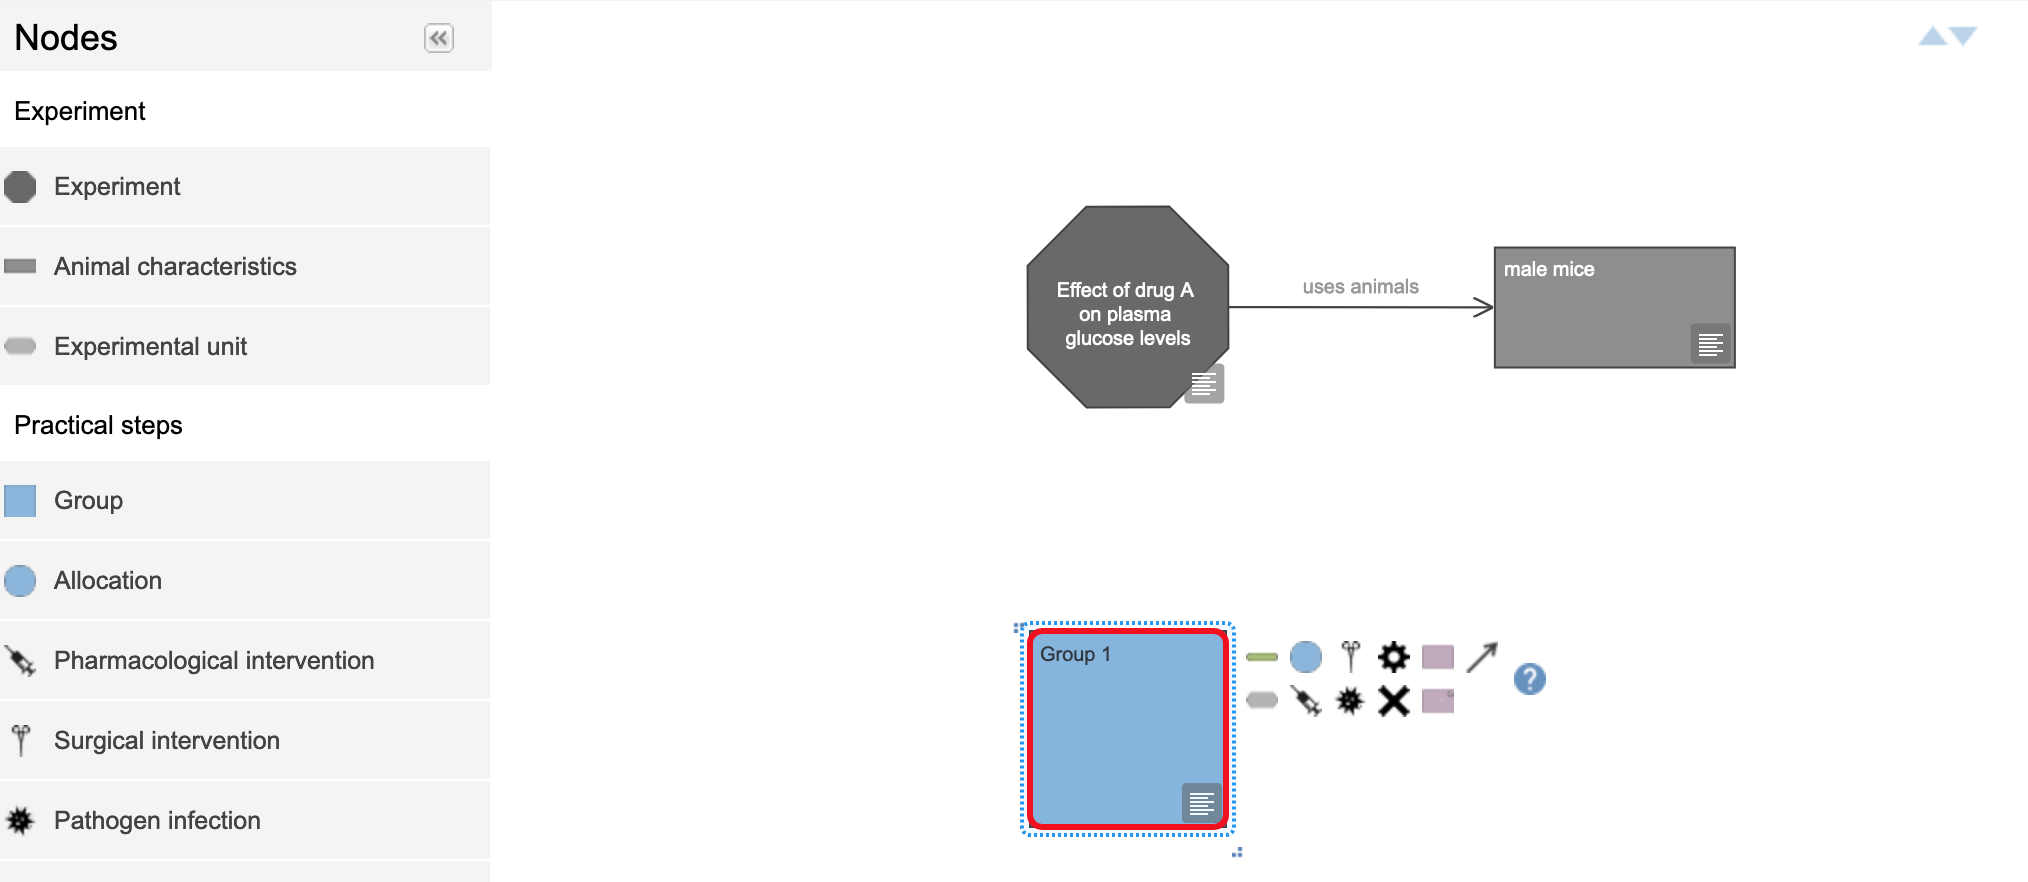
- Click and hold the
Groupnode in the sidebar and drag-and-drop it to the canvas (Figure 18.1). This will represent the complete pool of animals involved in the experiment.
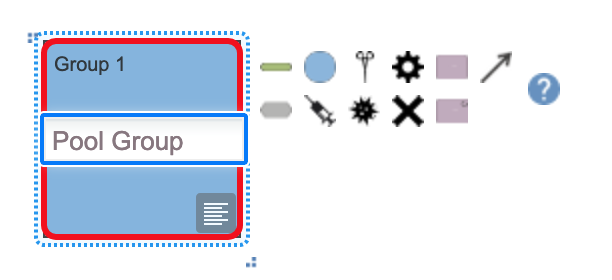
- Double click on the Group node to change the label. Call this Group “Pool Group” (Figure 18.2)
18.1.2 Add an Allocation node
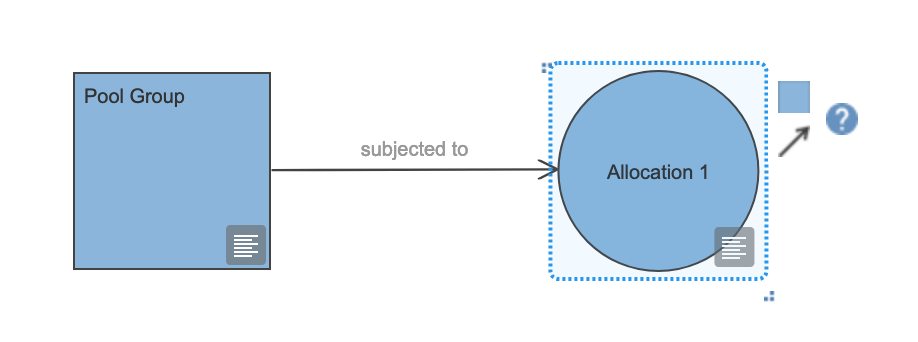
- The icon panel to the right of the Group node has more options than that for the Experiment node (Figure 18.3). Move the pointer over the blue circle and then click on it, to link a new Allocation node (Figure 18.4).

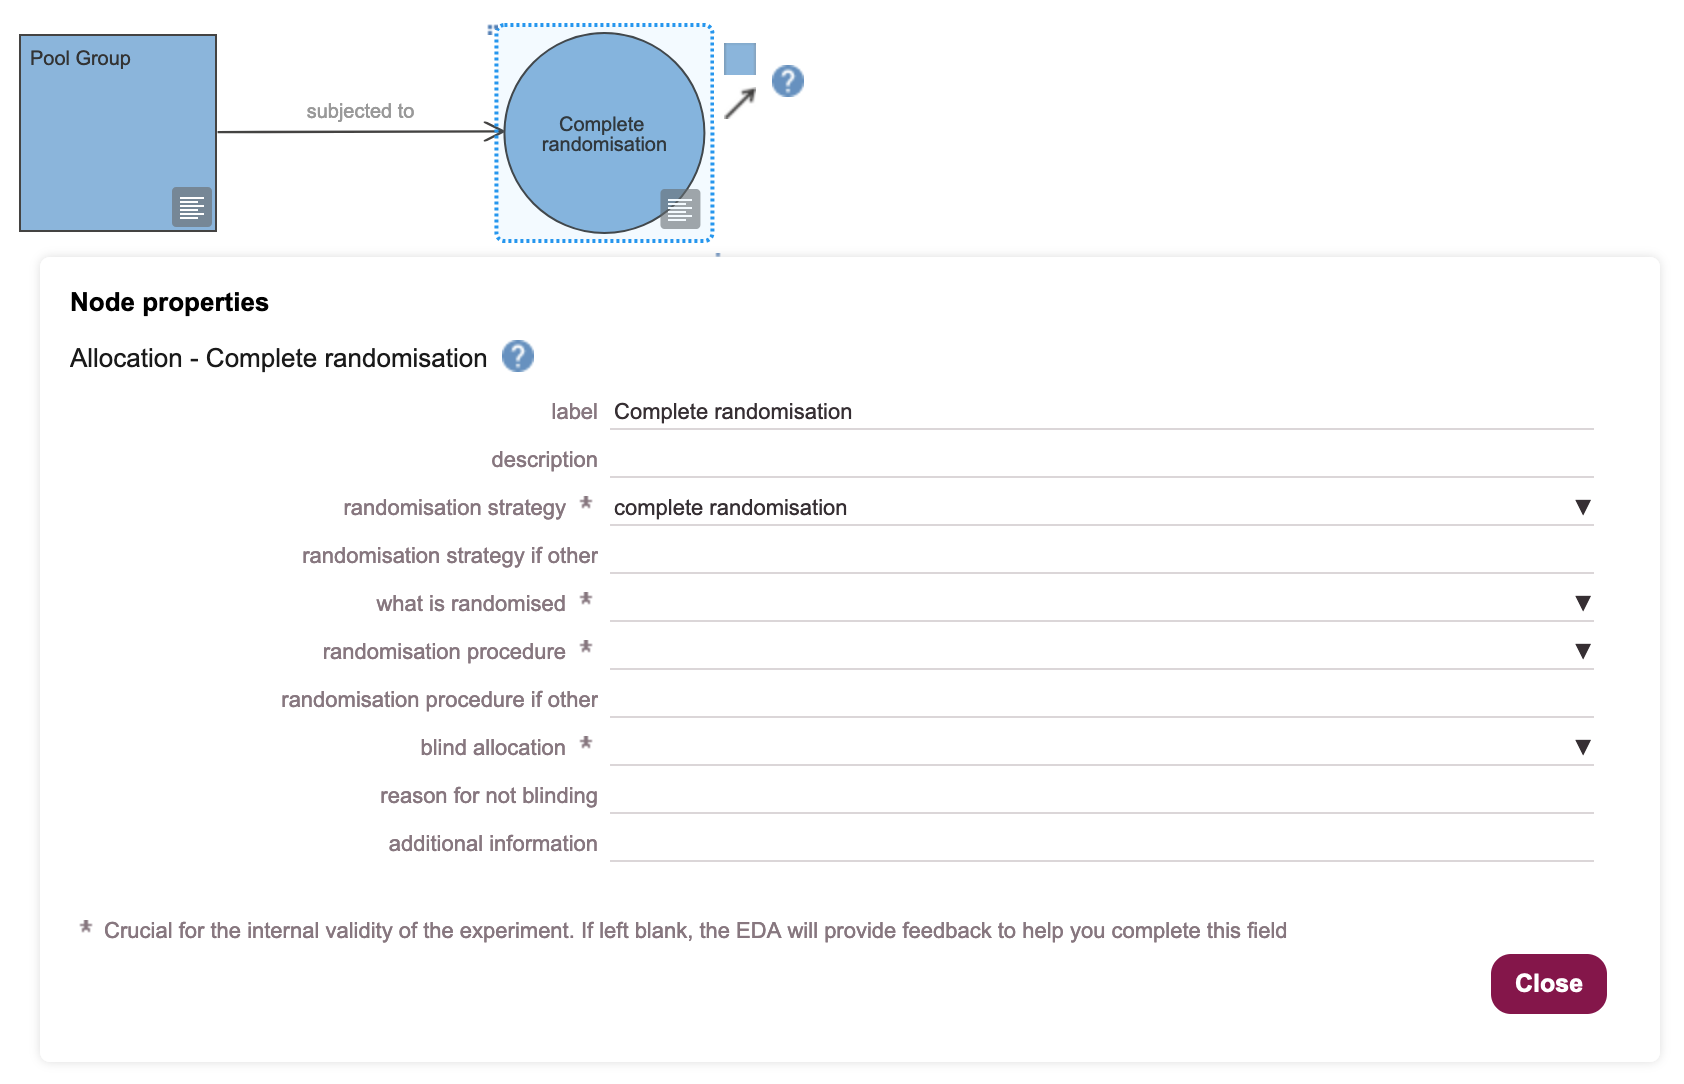
- Open the Allocation node properties and set the label to read “Complete randomisation”, and the randomisation strategy (a drop-down) to be “complete randomisation” (Figure 18.5). Click on the
Closebutton to return to the canvas.
18.1.3 Add Treatment and Control groups
- Click the blue square (Group node) icon to the right of the Allocation group twice, to generate two new Group nodes (Figure 18.6).

- Click and hold the mouse on each group, and move it until the nodes are positioned separately from each other (Figure 18.7).
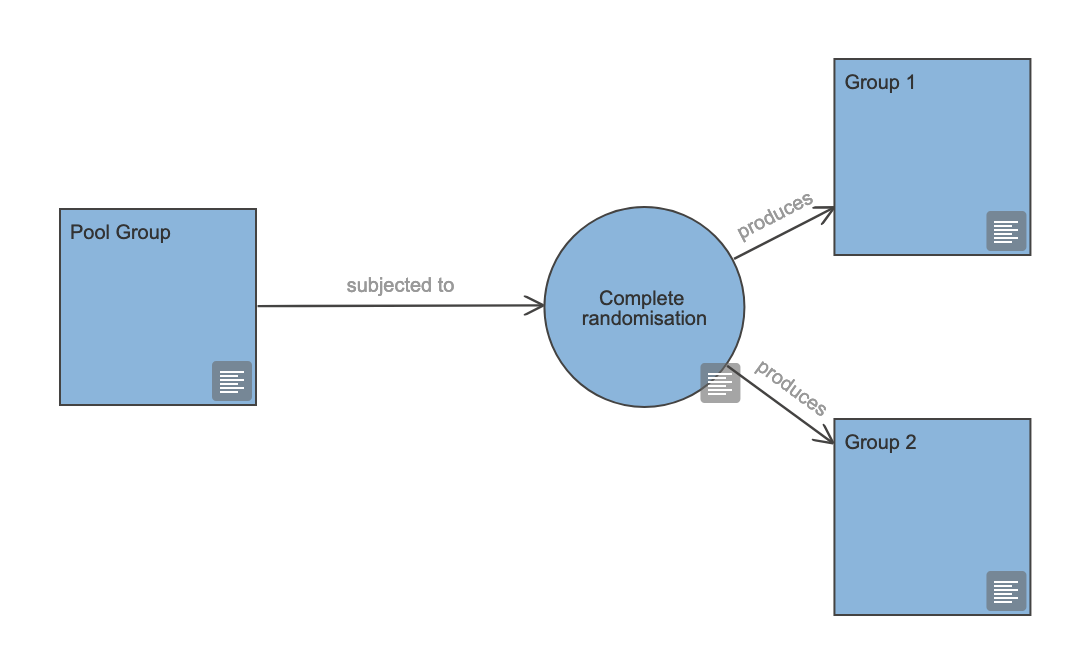
- Double-click on each new group and name as “Control” and “Treatment” accordingly (Figure 18.8)
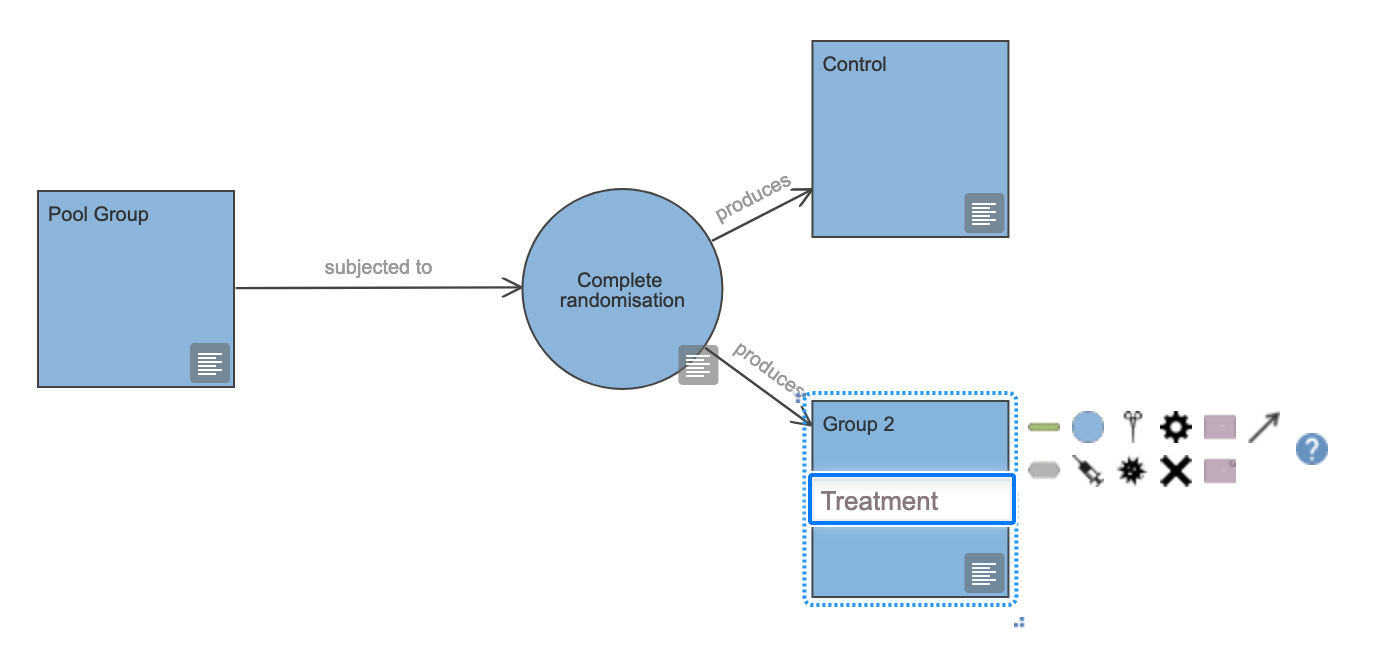
18.2 Summary
By following the process above we have defined our initial pool of experimental subjects, and described how they are randomly assigned to either a control or a treatment group. In the next steps, we will add the nodes that describe our experimental interventions, and the measurements we intend to record.