19 Define Interventions and Measurements
We learned in Chapter 3 that when we perform an experiment we are interested in understanding causes, in terms of the causal model of our experimental system. We also learned that the definitions of cause and effect in a study come from us, as investigators. We set up our experiments with specific causal influences and outcomes in mind, and try to estimate the amount of the influence due to each cause. Or rationale for the causal relationships underlying this experiment is described in Chapter 15.
We identified two pharmacological interventions:
- A control comprising an injection of only vehicle
- A treatment comprising an injection of vehicle, also containing drug A
In our EDA these will each represented by a different Pharmacological intervention node, linked to the Group node that provides the individuals for that part of the experiment.
As the same measurement (plasma glucose level) is made for all individuals, we define a single Measurement node.
19.1 Create the experimental intervention structure
19.1.1 Add the control intervention
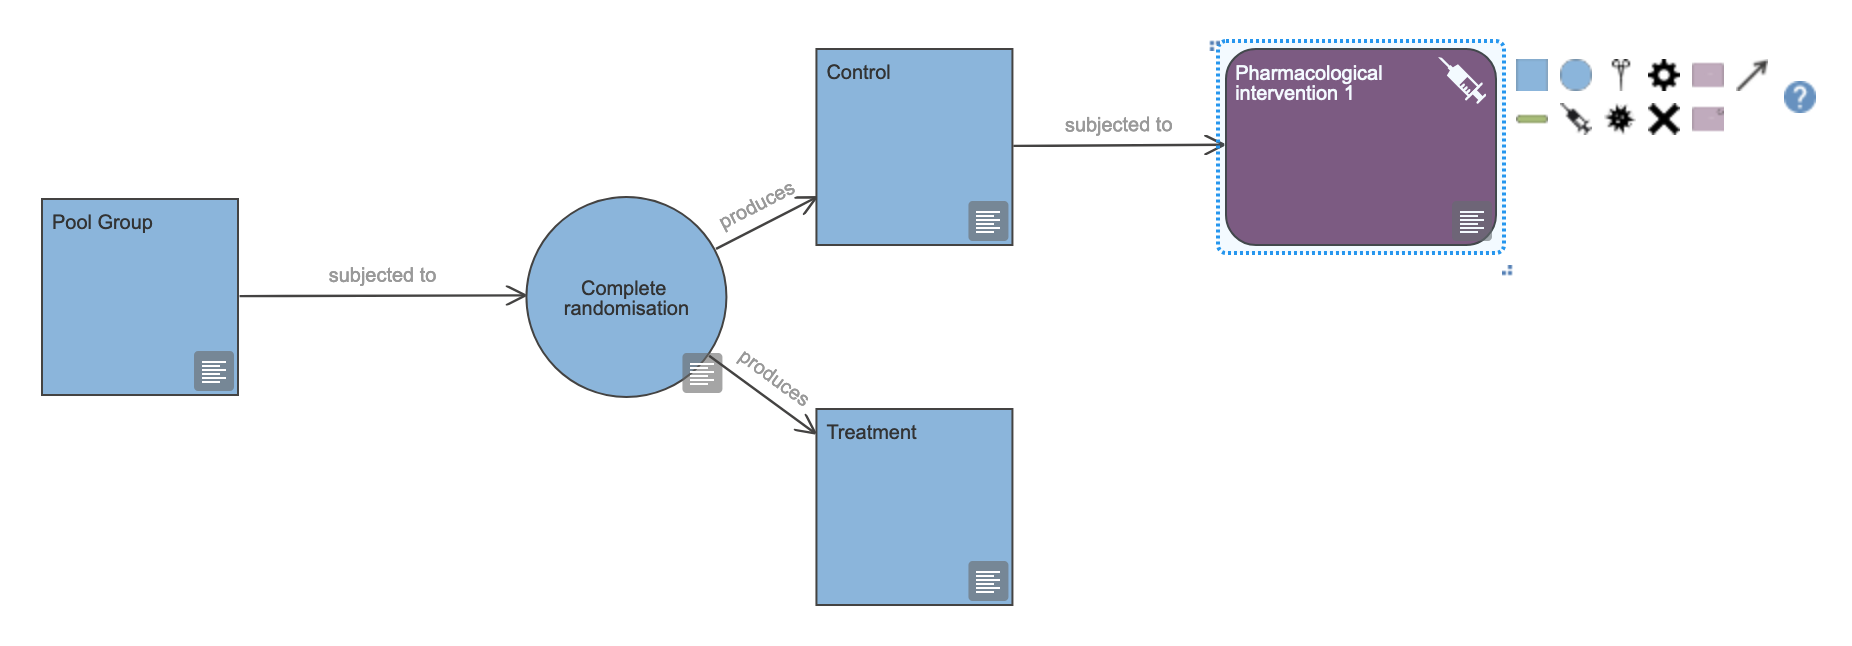
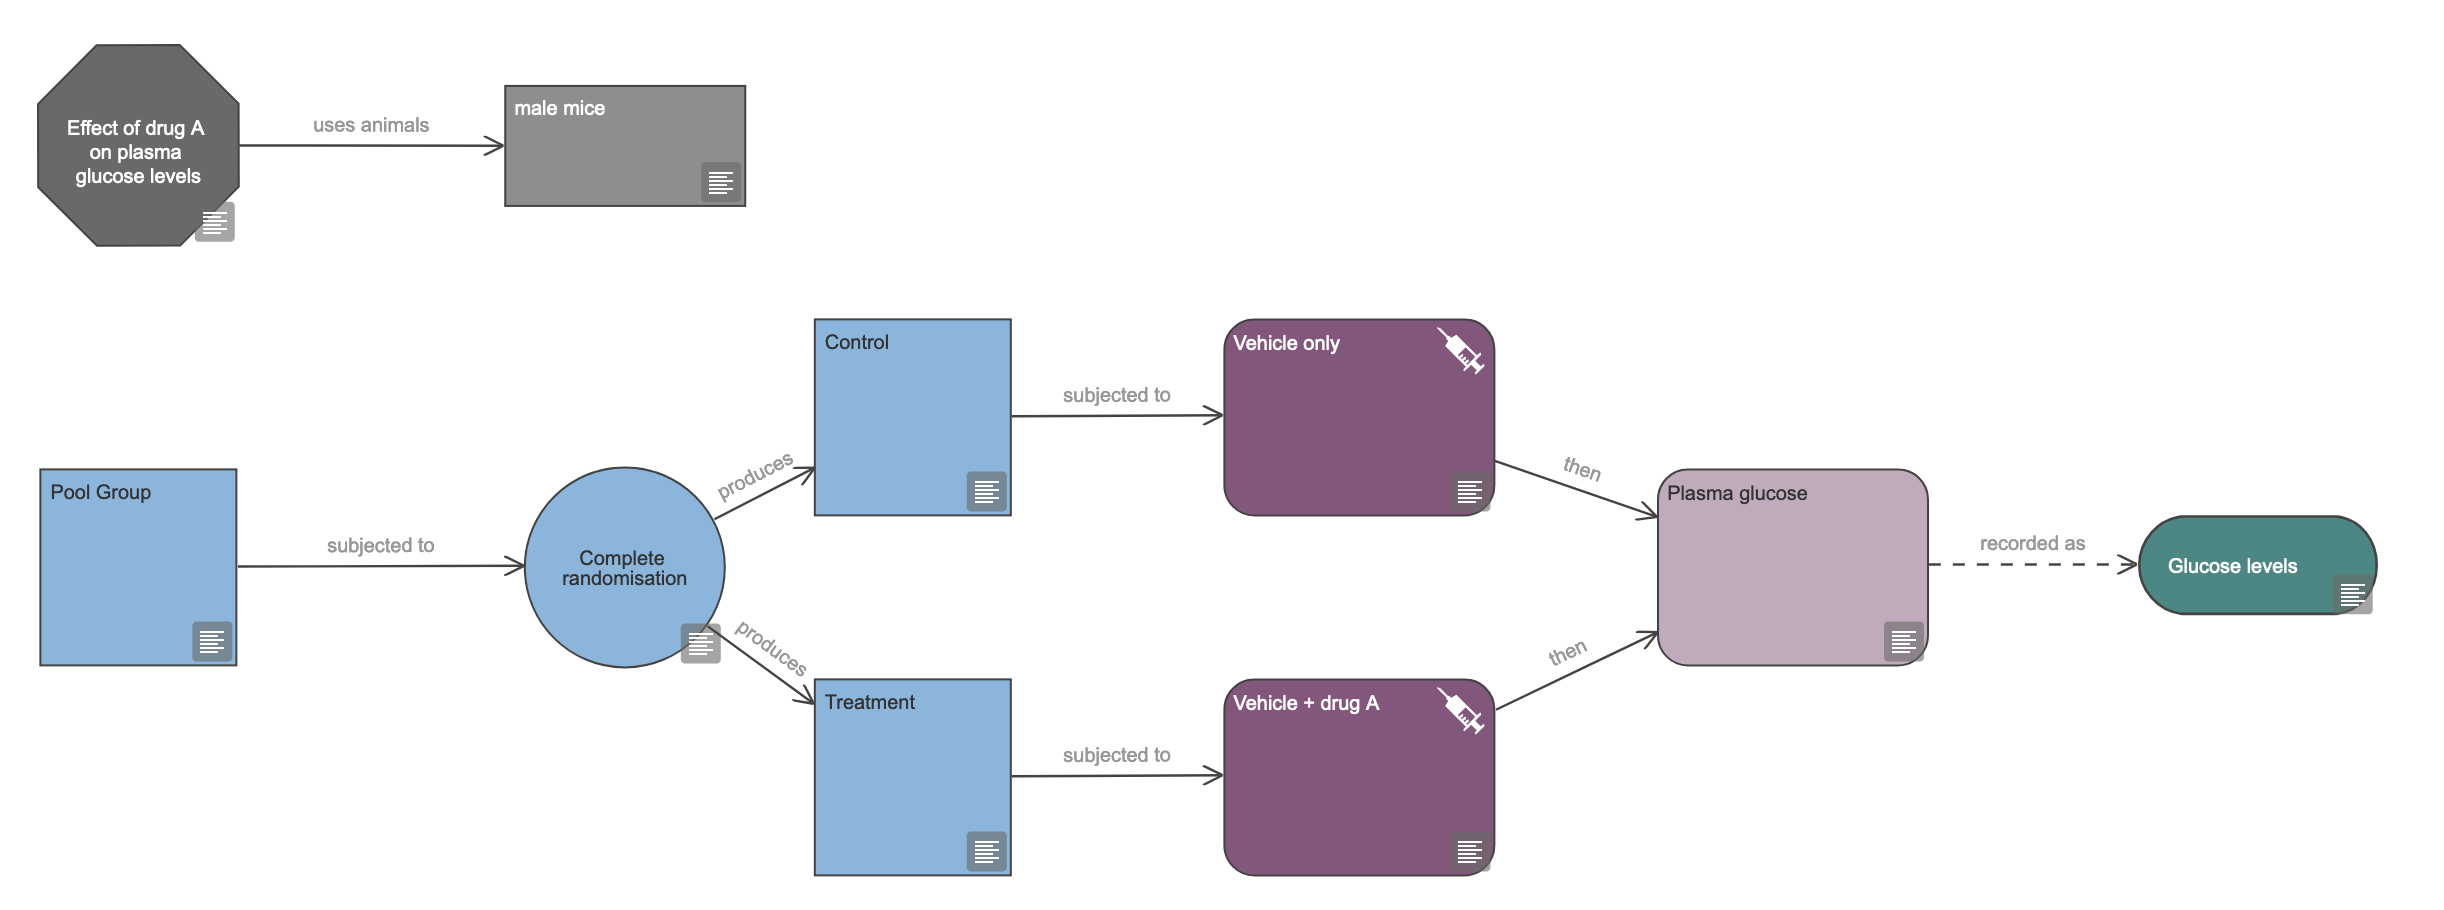
- Click on the syringe icon, next to the Control Group node (Figure 19.1). This will create a new Pharmacological intervention node, linked to the Control group (Figure 19.2).

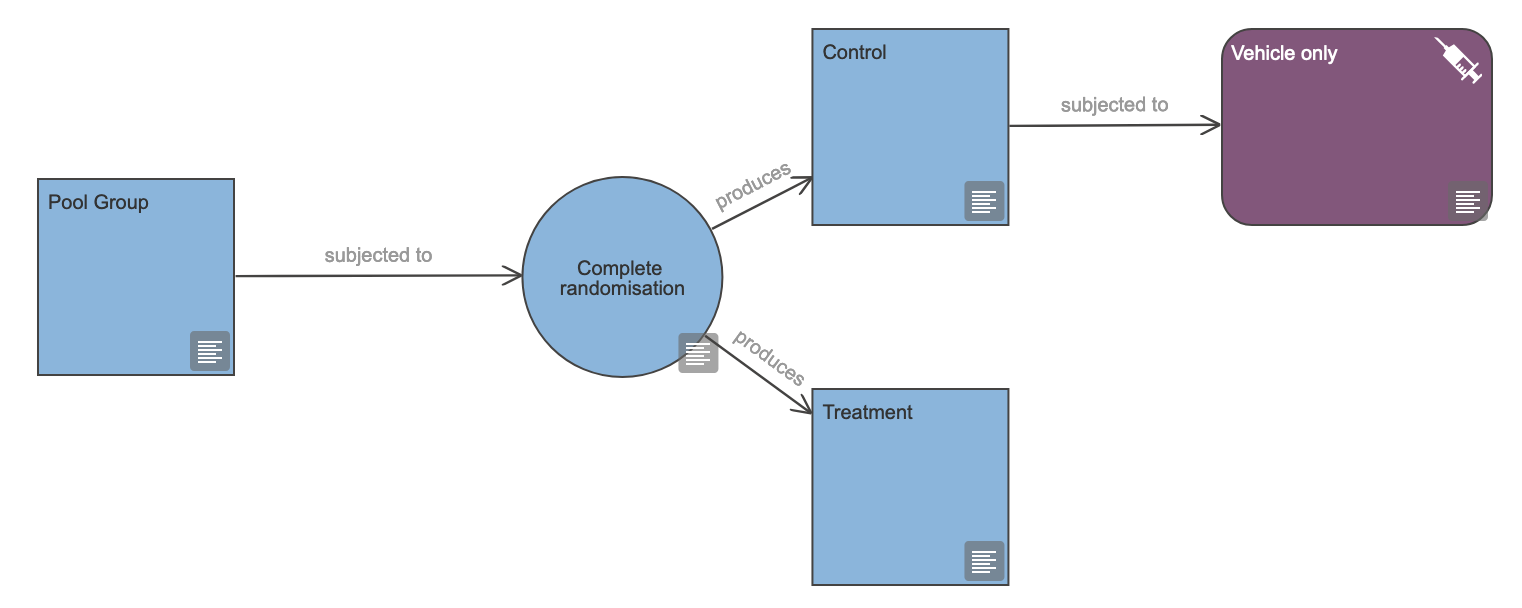
- Relabel the Pharmaceutical intervention node to read “Vehicle only” (Figure 19.3)
19.1.2 Add the treatment intervention
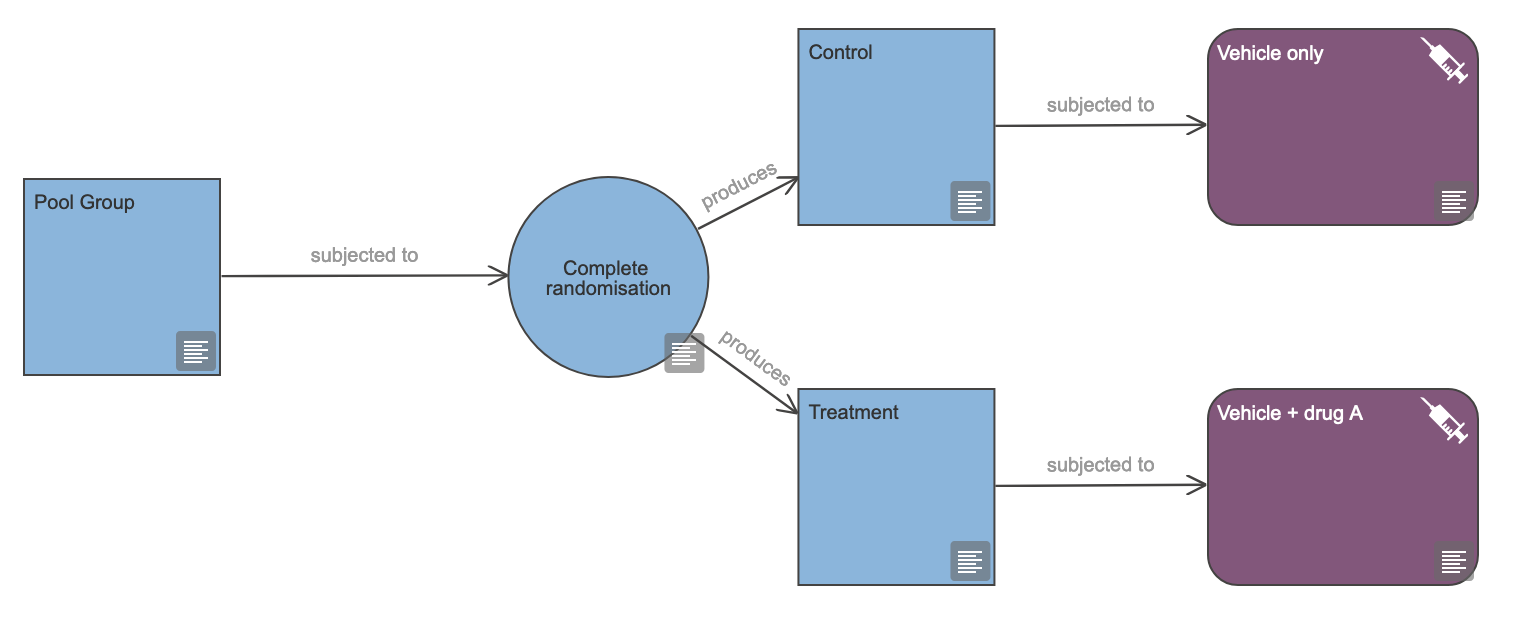
- Click on the syringe icon, next to the Treatment Group node to create a new Pharmacological intervention node, linked to the Treatment group.
- Relabel the Pharmaceutical intervention node to read “Vehicle + drug A” (Figure 19.4)
19.2 Add the measurement structure
All individuals, regardless of whether they are treatment or control are measured in the same way, by readout of plasma glucose levels. We thus need only a single Measurement node, which can be added and linked to both experiment arms, and we also need to define what is actually being measured: our Outcome measure.
In statistical terms, the Outcome measure in an EDA diagram is our dependent variable or response variable.
The plasma glucose measurement depends on the experimental factors that we have determined to have a causal influence on it, hence it is the dependent variable.
19.2.1 Add the Measurement node
- Click on the Measurement node icon next to the “Vehicle only” intervention (?fig-nc3rs-meas-icon), to create a new Measurement node.
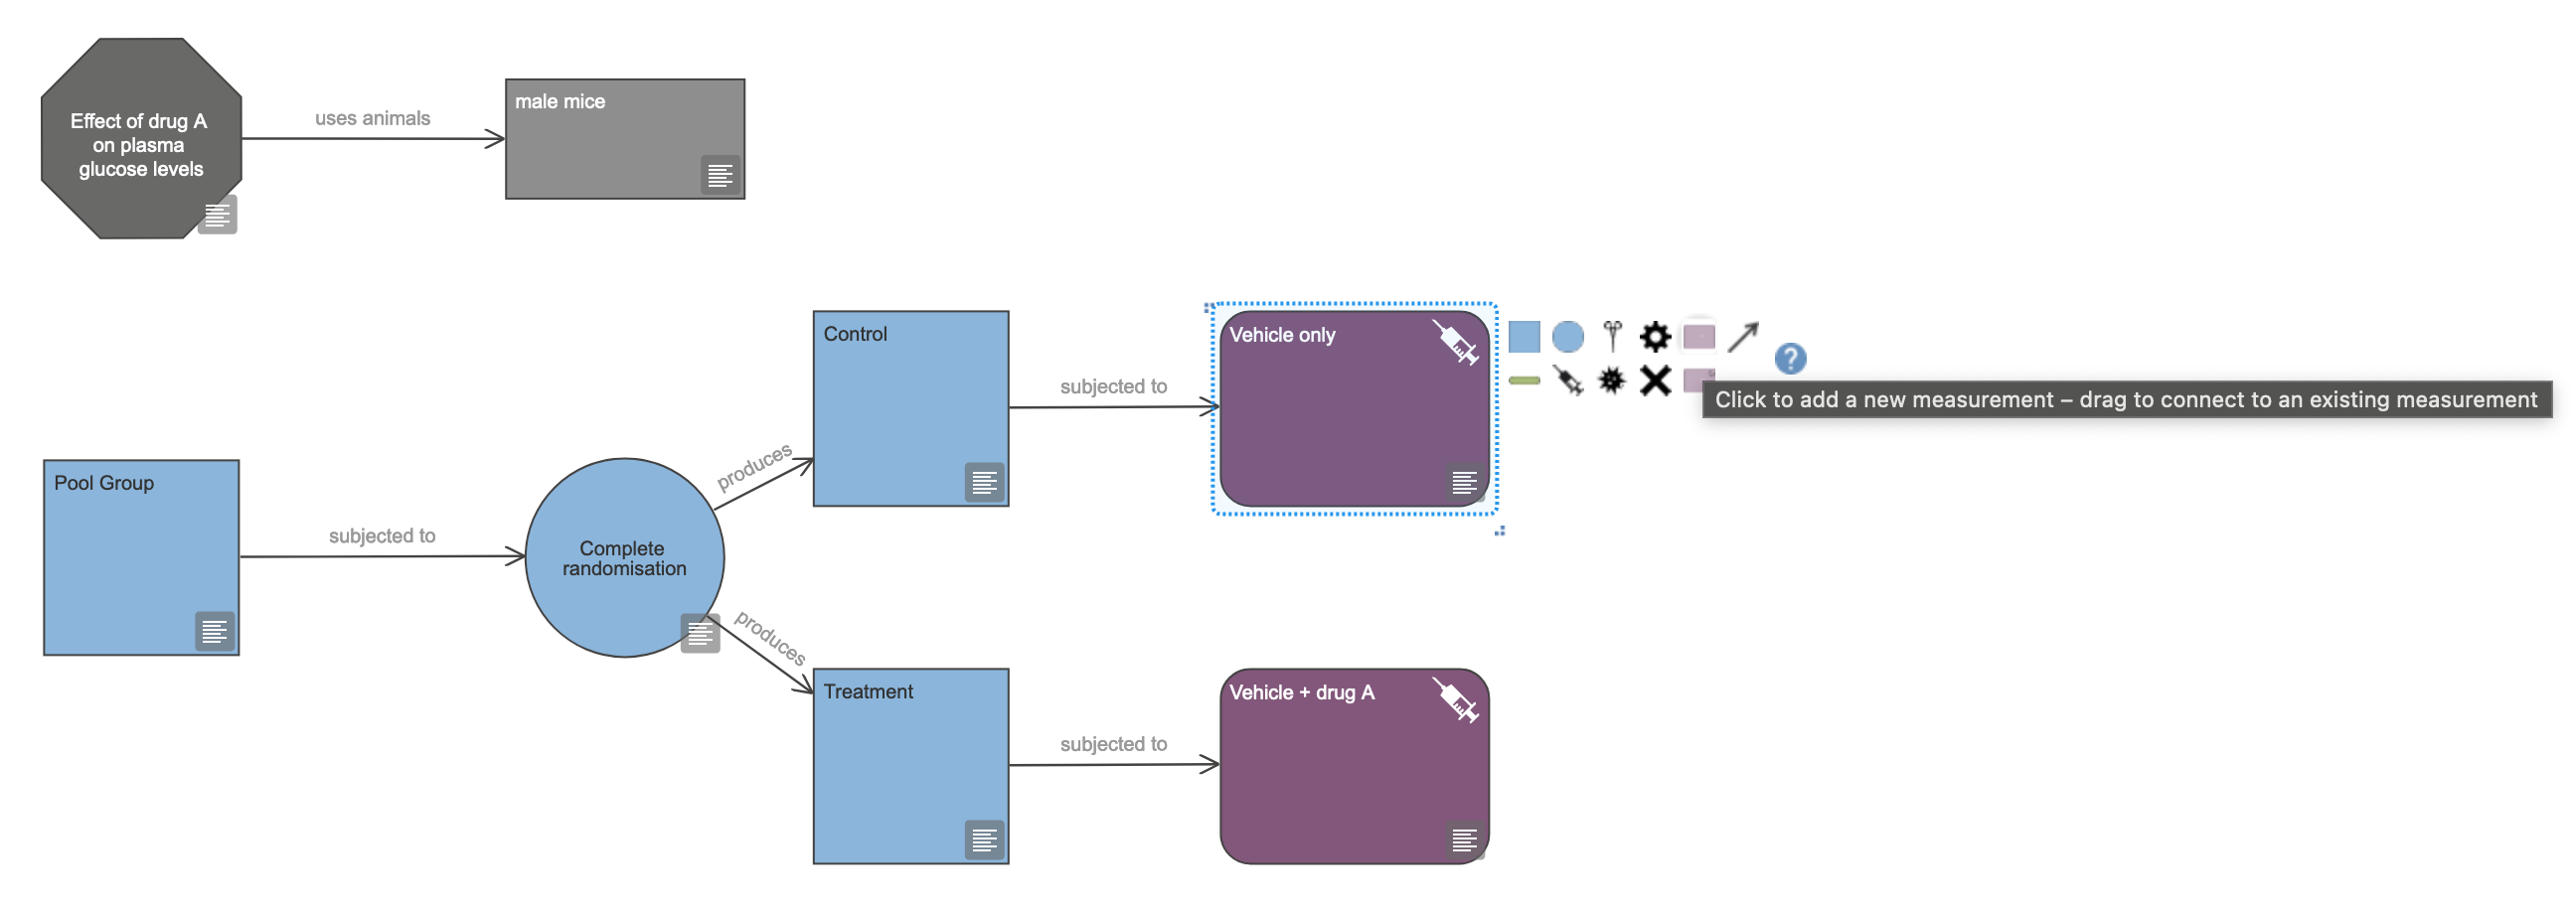
- Double-click on the new Measurement icon and rename it to “Plasma glucose” (Figure 19.6)

- To link the “Vehicle + drug A” intervention node to the measurement, click on the arrow icon next to the “Vehicle + drug A” node (Figure 19.7), and drag it to the Measurement node (Figure 19.8).


19.2.2 Add the Outcome measure node
- Click on the Outcome measure node icon next to the Measurement node, to create a new Outcome measure node.
- Double-click on this node and rename it to “Glucose levels” (Figure 19.9)
19.3 Add the Analysis node
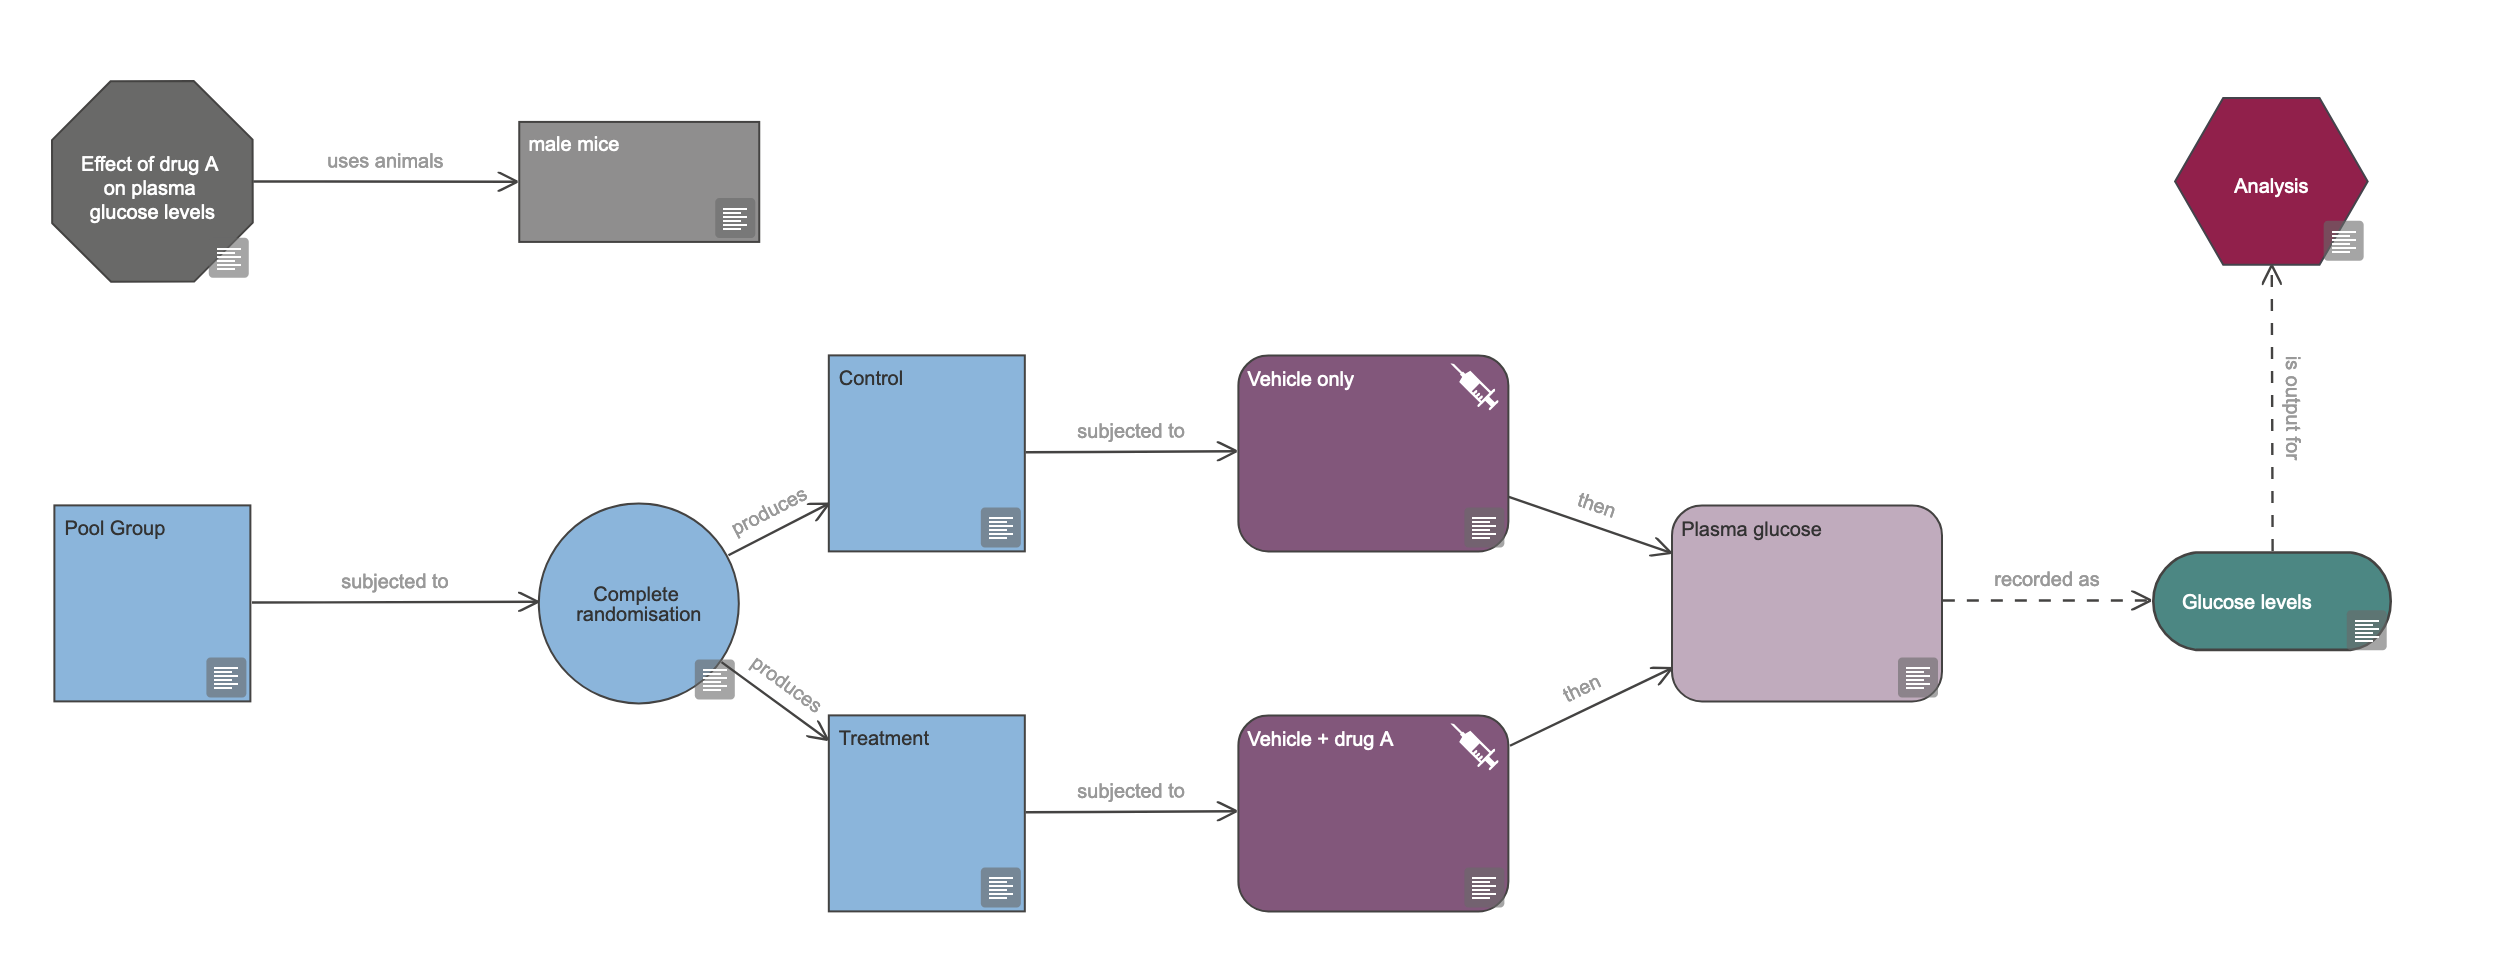
In an EDA diagram, the Analysis node describes how the data is analysed. We need to add an Analysis node to our diagram, linking it to the Outcome measure node.
All outcome measures (dependent variables) and explanatory variables (independent variables) in the diagram should be connected to the Analysis node
- Click on the Analysis node icon next to the Outcome measure node, to create a new Analysis node.
- Rename the Analysis node to “Analysis” (Figure 19.10)
19.4 Summary
At this point, we have defined the basic skeleton of our experiment, representing the causes and effects that we believe are in play, in our experimental system.
We have defined our pool of experimental subjects and how they are allocated to arms of the experiment. We have defined pharmaceutical interventions and the measurement we want to make.
Now it is time to ask EDA to critique our design, give us feedback, and make suggestions for how to improve it or make it clearer.