24 Communicating the Design
When you have constructed your design and calculated appropriate sample sizes so that the experiment has sufficient power to answer your scientific question, you will need to share this design with others:
- Your colleagues
- you will likely want or need to discuss your design with your colleagues, to ensure that the experiment is achieving your collective scientific goals
- Potential funders
- you will need to demonstrate to your potential funders, in your grant application, that you have properly considered the practical and ethical concerns of the design
- Ethical review, and licencing bodies
- in order for your animal experiment to proceed, it and the researchers will need to be properly licenced; in the UK the experimental design will be assessed at a local Animal Welfare and Ethical Review Board (AWERB), as well as by the Home Office, before a licence will be awarded
- Reviewers of publications
- when you come to publish your work, reviewers and publishers will want to be reassured that all ethical guidelines were properly followed, and that the experiment was well-designed
The NC3Rs EDA tool can generate for you a PDF file “Experimental Design Report” highlighting key features of your eexperimental design. This is intended to be supporting documentation for grant applications, ethical review, and manuscript submissions. The PDF can be provided in two forms, depending on whether file attachments are allowed for the particular purpose:
- As a downloadable PDF file
- As a URL link to an online, read-only diagram of the design
24.1 Generate an Experimental Design Report
- Click on
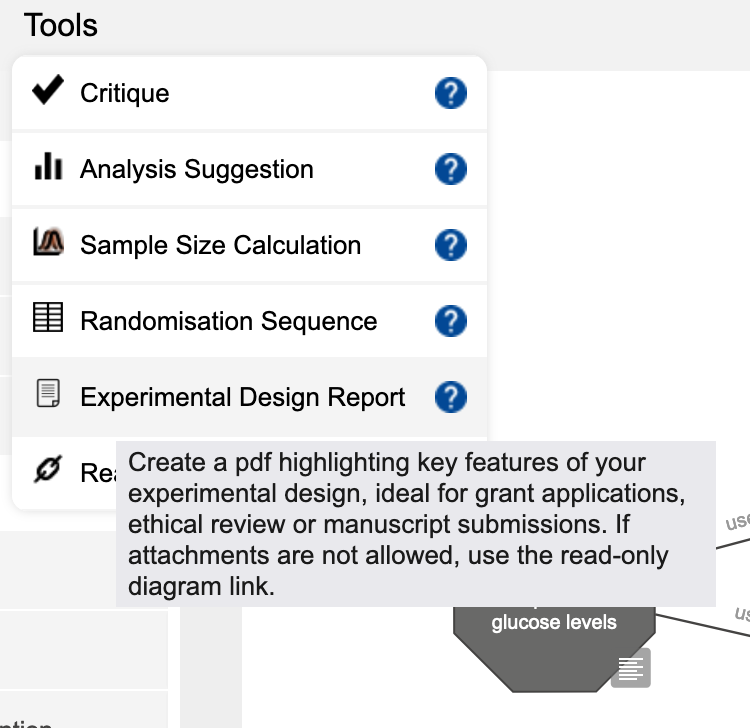
Tools -> Experimental Design Report(Figure 24.1)
A new tab will open in your browser.
Please be patient! It takes a little while to generate the design report.
(You might like to generate the read-only diagram while you are waiting.)
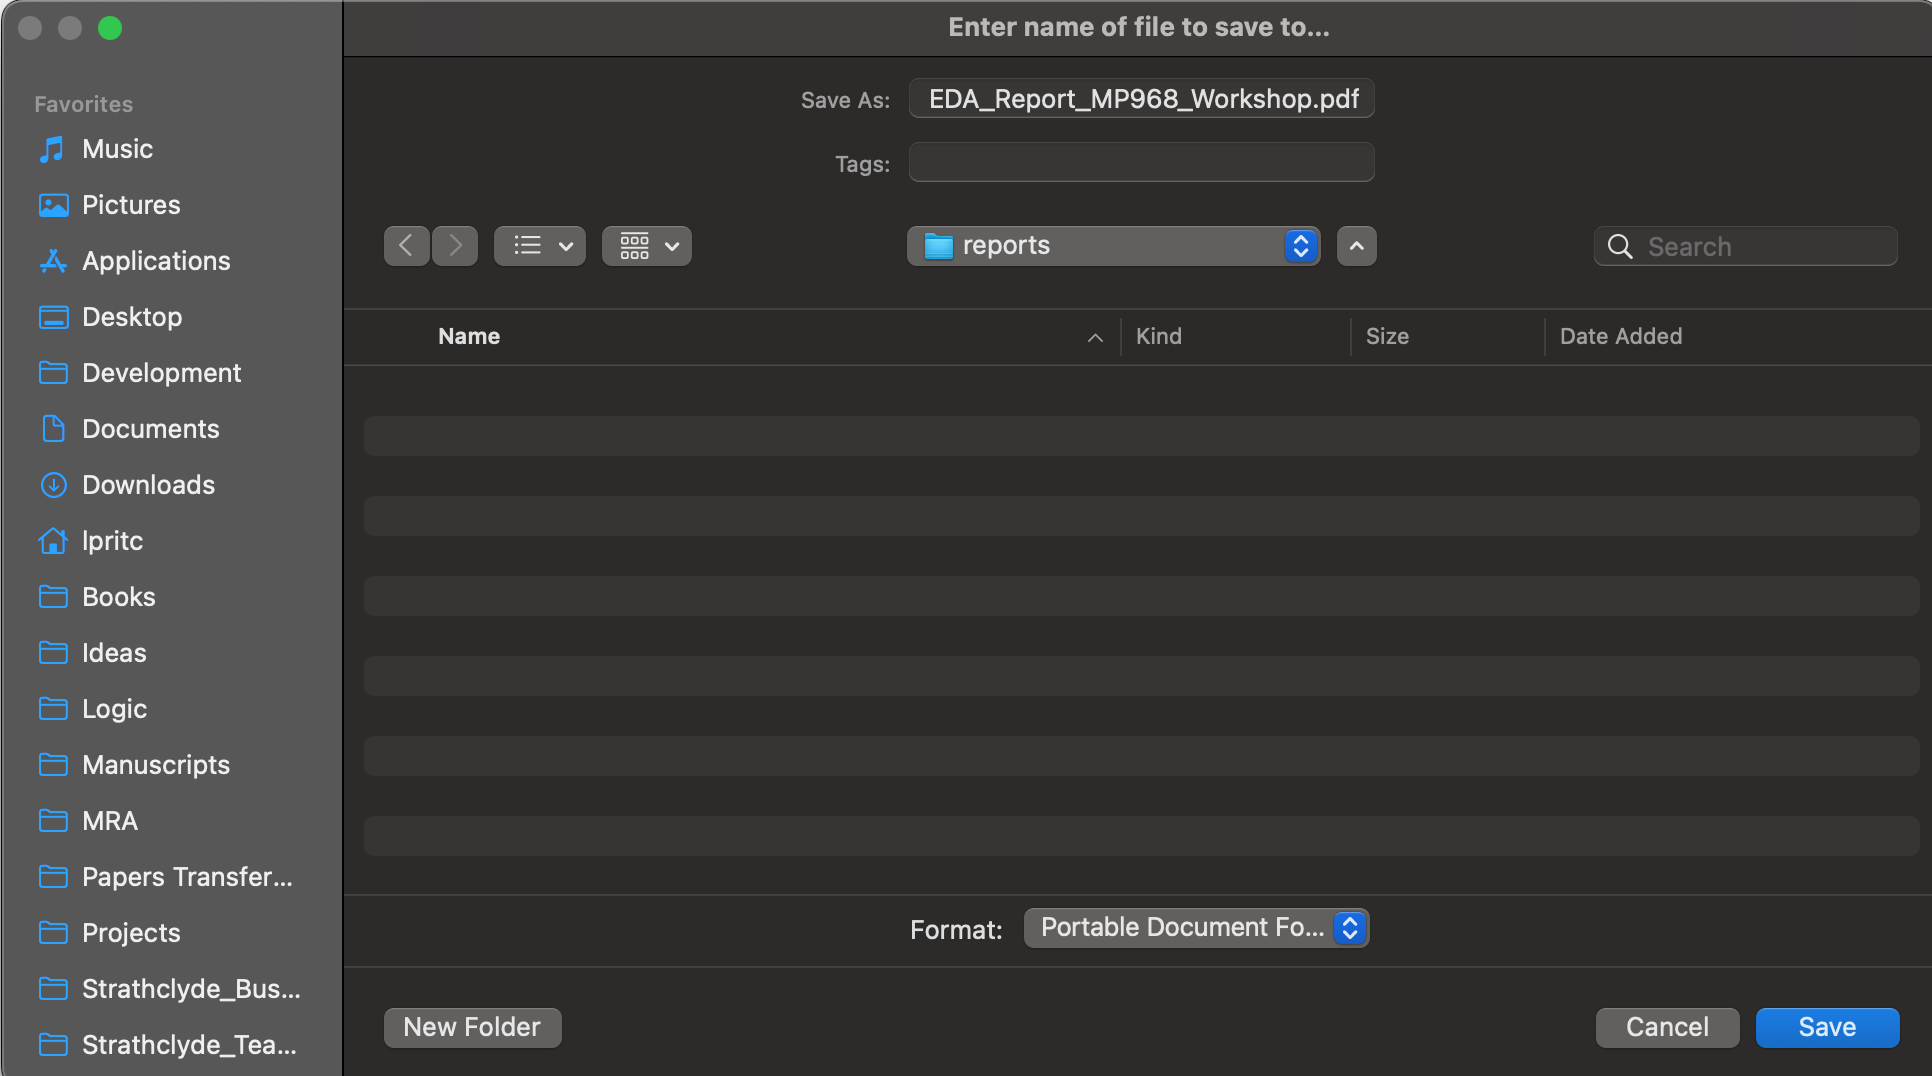
2a. If a Save File diaogue box appears (Figure 24.2), save the file to an appropriate location. - During the design phase of your own experiments, it makes sense to keep this in a folder with other files relevant to the study
2b. It is possible that, depending on your web browser’s configuration, the design report may appear in the new tab that was created. If this is the case, save the generated file to an appropriate location. - During the design phase of your own experiments, it makes sense to keep this in a folder with other files relevant to the study
- Close the new tab that was created.
24.1.1 Reading the report
An example Experimental Design Report for this study can be downloaded at the link, or read in the embedded version below.
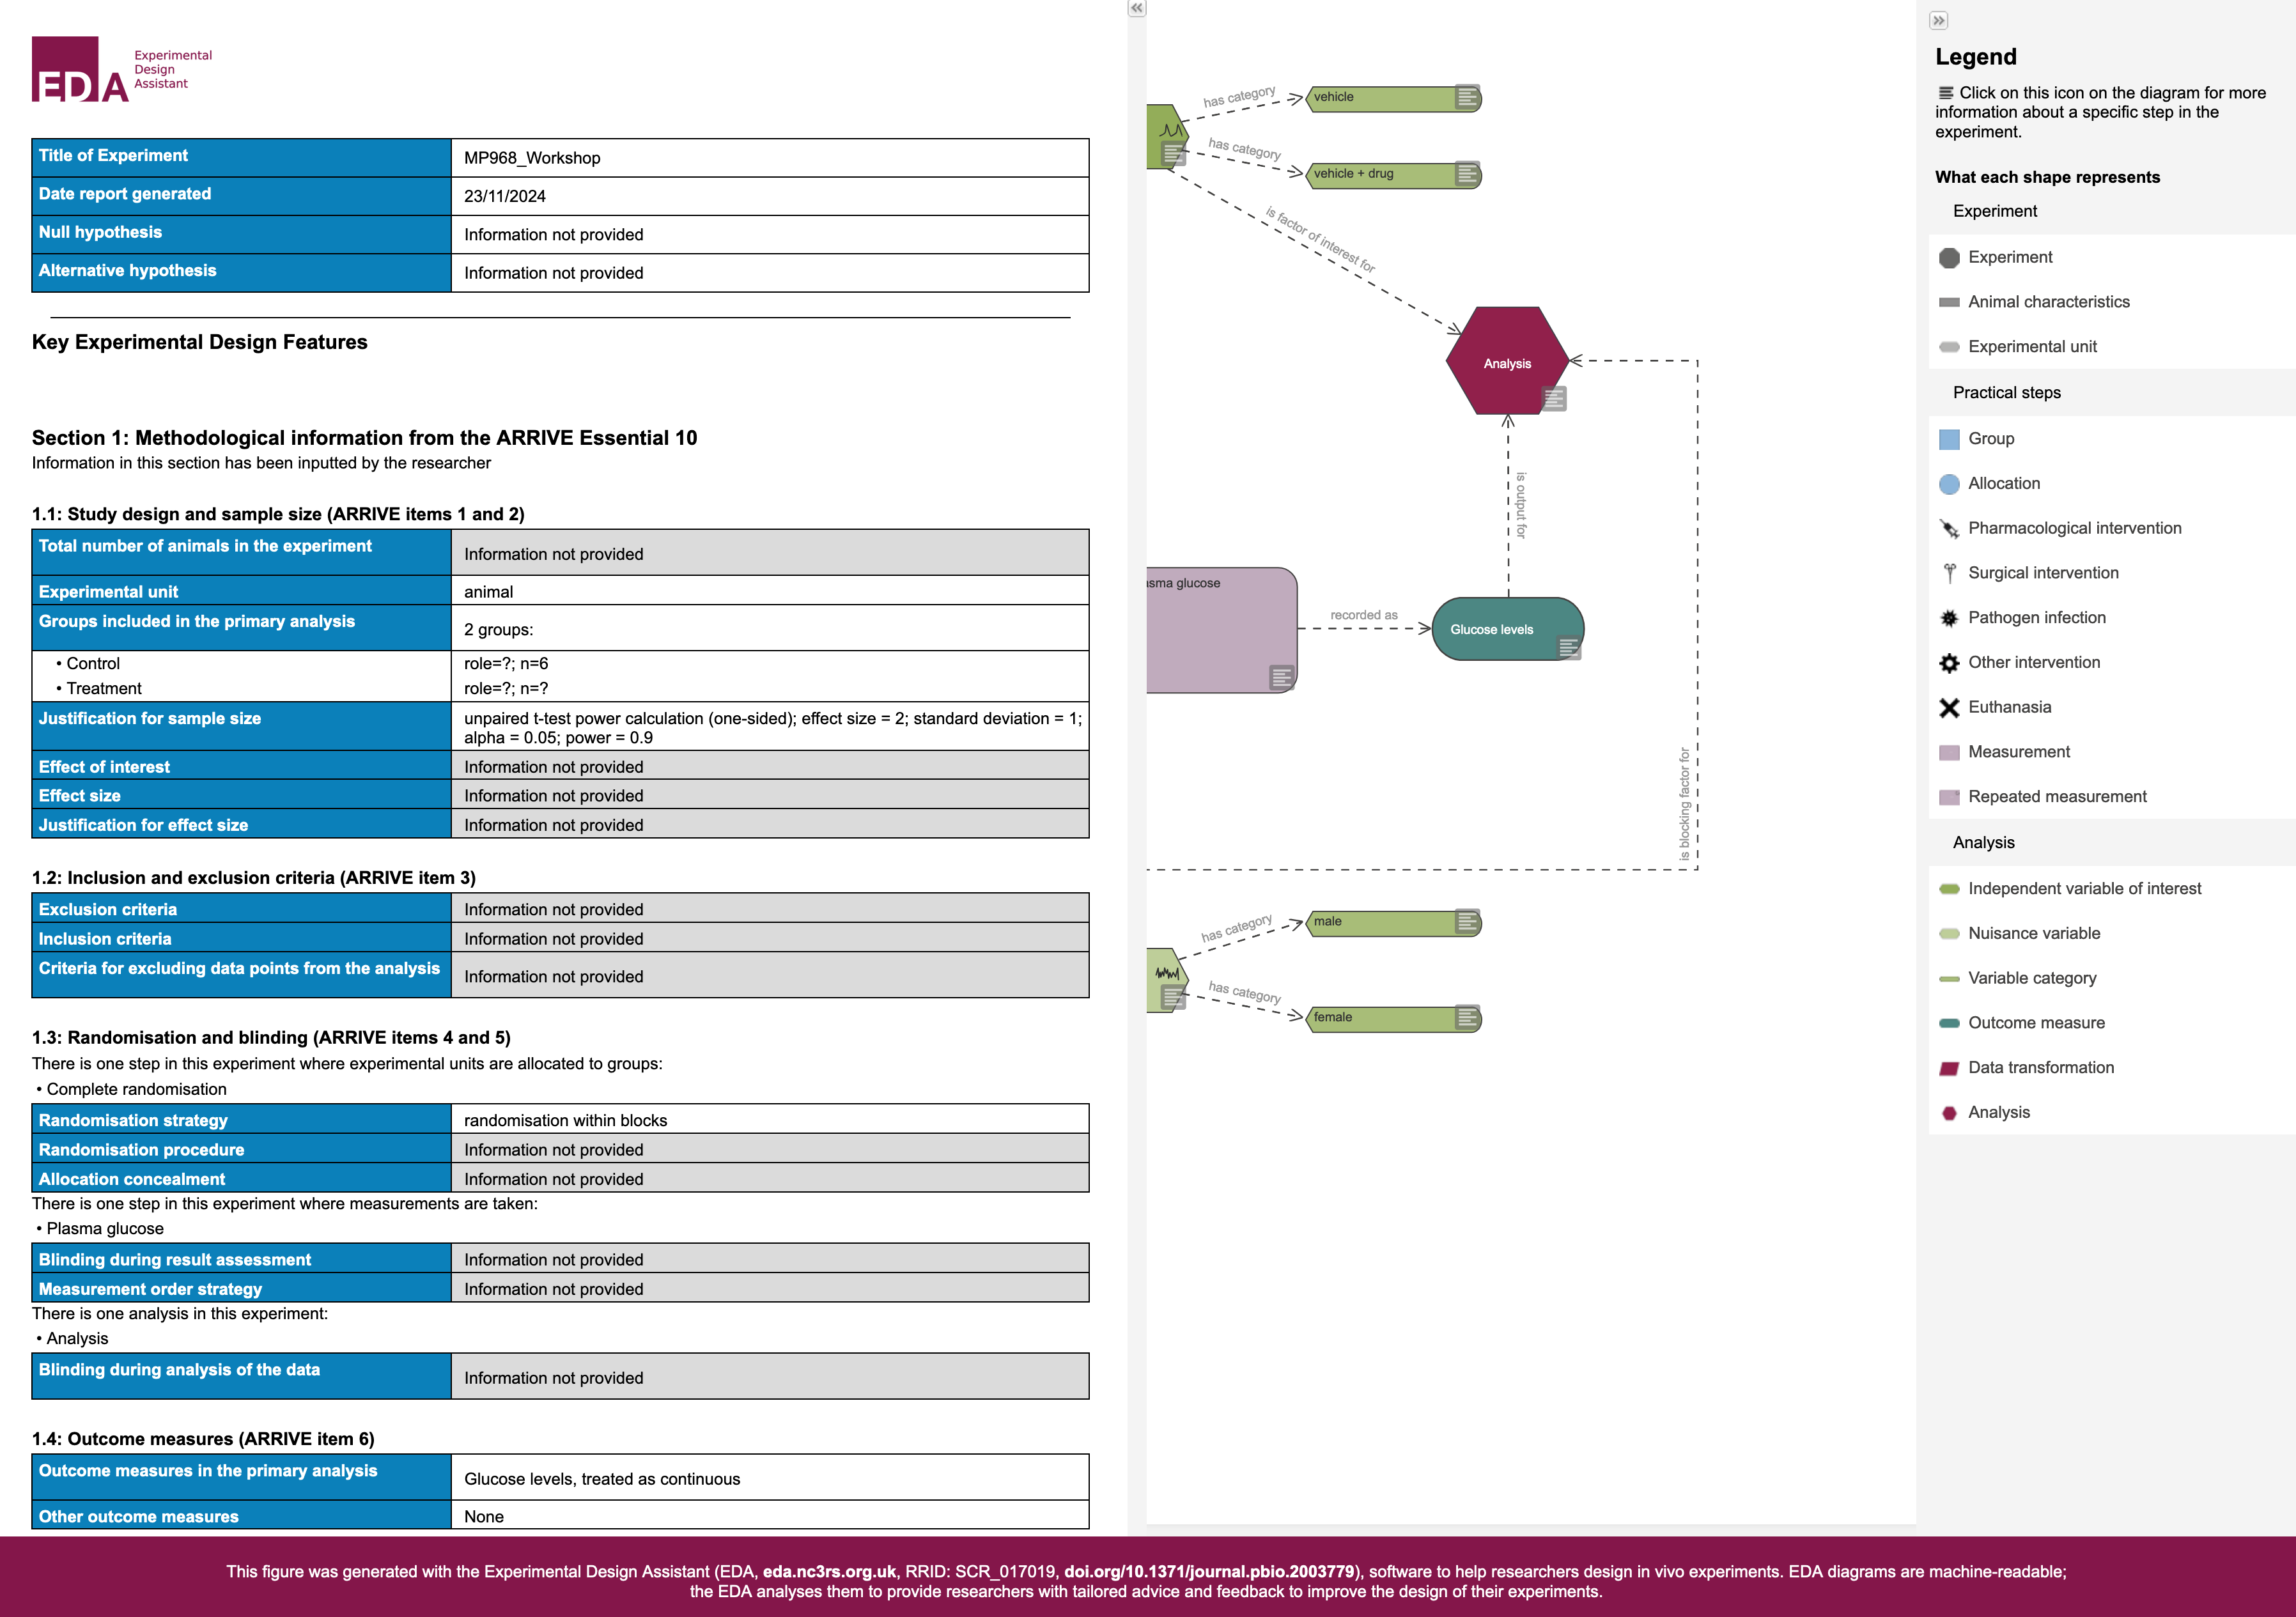
The report provides key information about your experiment, including:
- Title of the EDA diagram
- Date the report was generated
- Experimental objectives
- Number of experimental groups and sample sizes
- How subjects are included in, or excluded from the study
- Randomisation and blinding procedures
- Outcome measures
- Statistical methods that will be used
- Details of experimental animals that will be subjects of the experiment
A number of the fields in the report we generate in this workshop are greyed-out, and read Information not provided. These fields were also noted as warnings when we critiqued our diagram.
We did not complete these fields not because they should be ignored, but because they are highly specific to each experiment.
You should always complete these fields as fully as possible.
The report also details advice that the EDA tool provided to us in its critique of the diagram, and indicates what advice it provided for statistical analysis.
Finally, the report includes a copy of the diagram you created.
24.2 Create a read-only diagram
- Click on
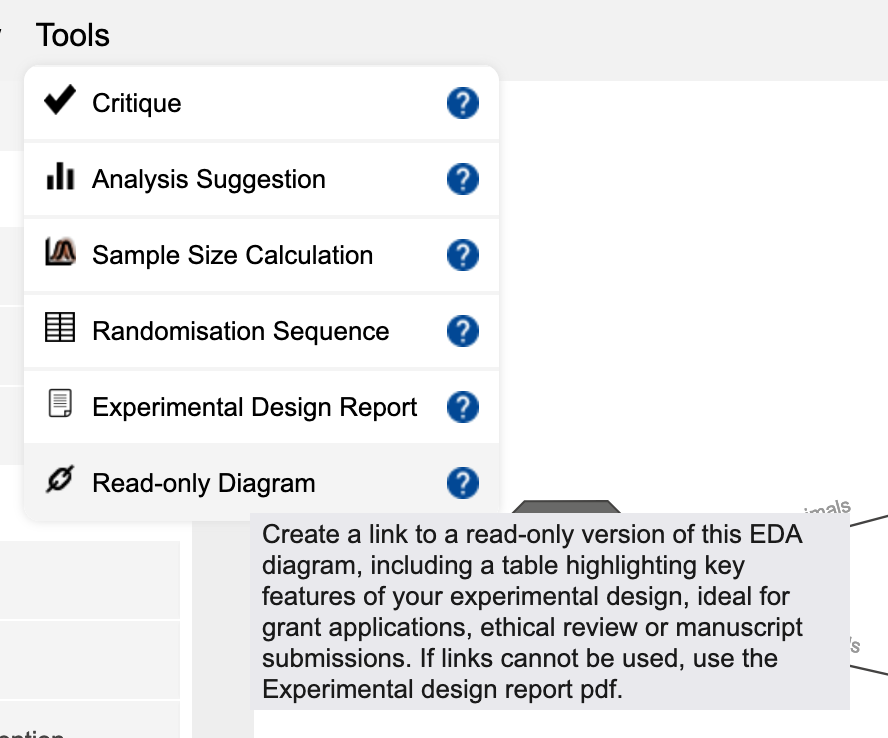
Tools -> Read-only Diagram(Figure 24.3)
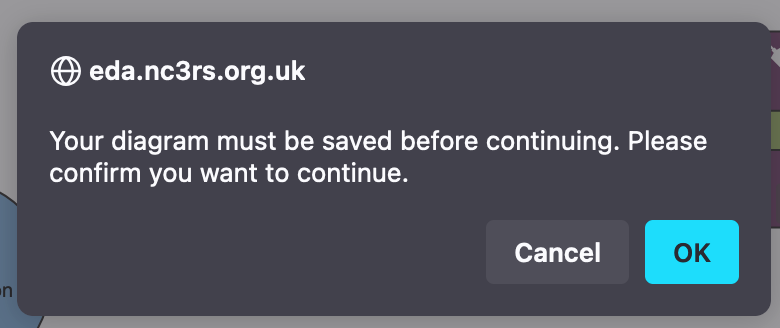
This may bring up a dialogue box stating Your diagram must be saved before continuing. Please confim you want to continue. (Figure 24.4)
Click the OK button, to confirm.
- You will be presented with a dialogue box titled
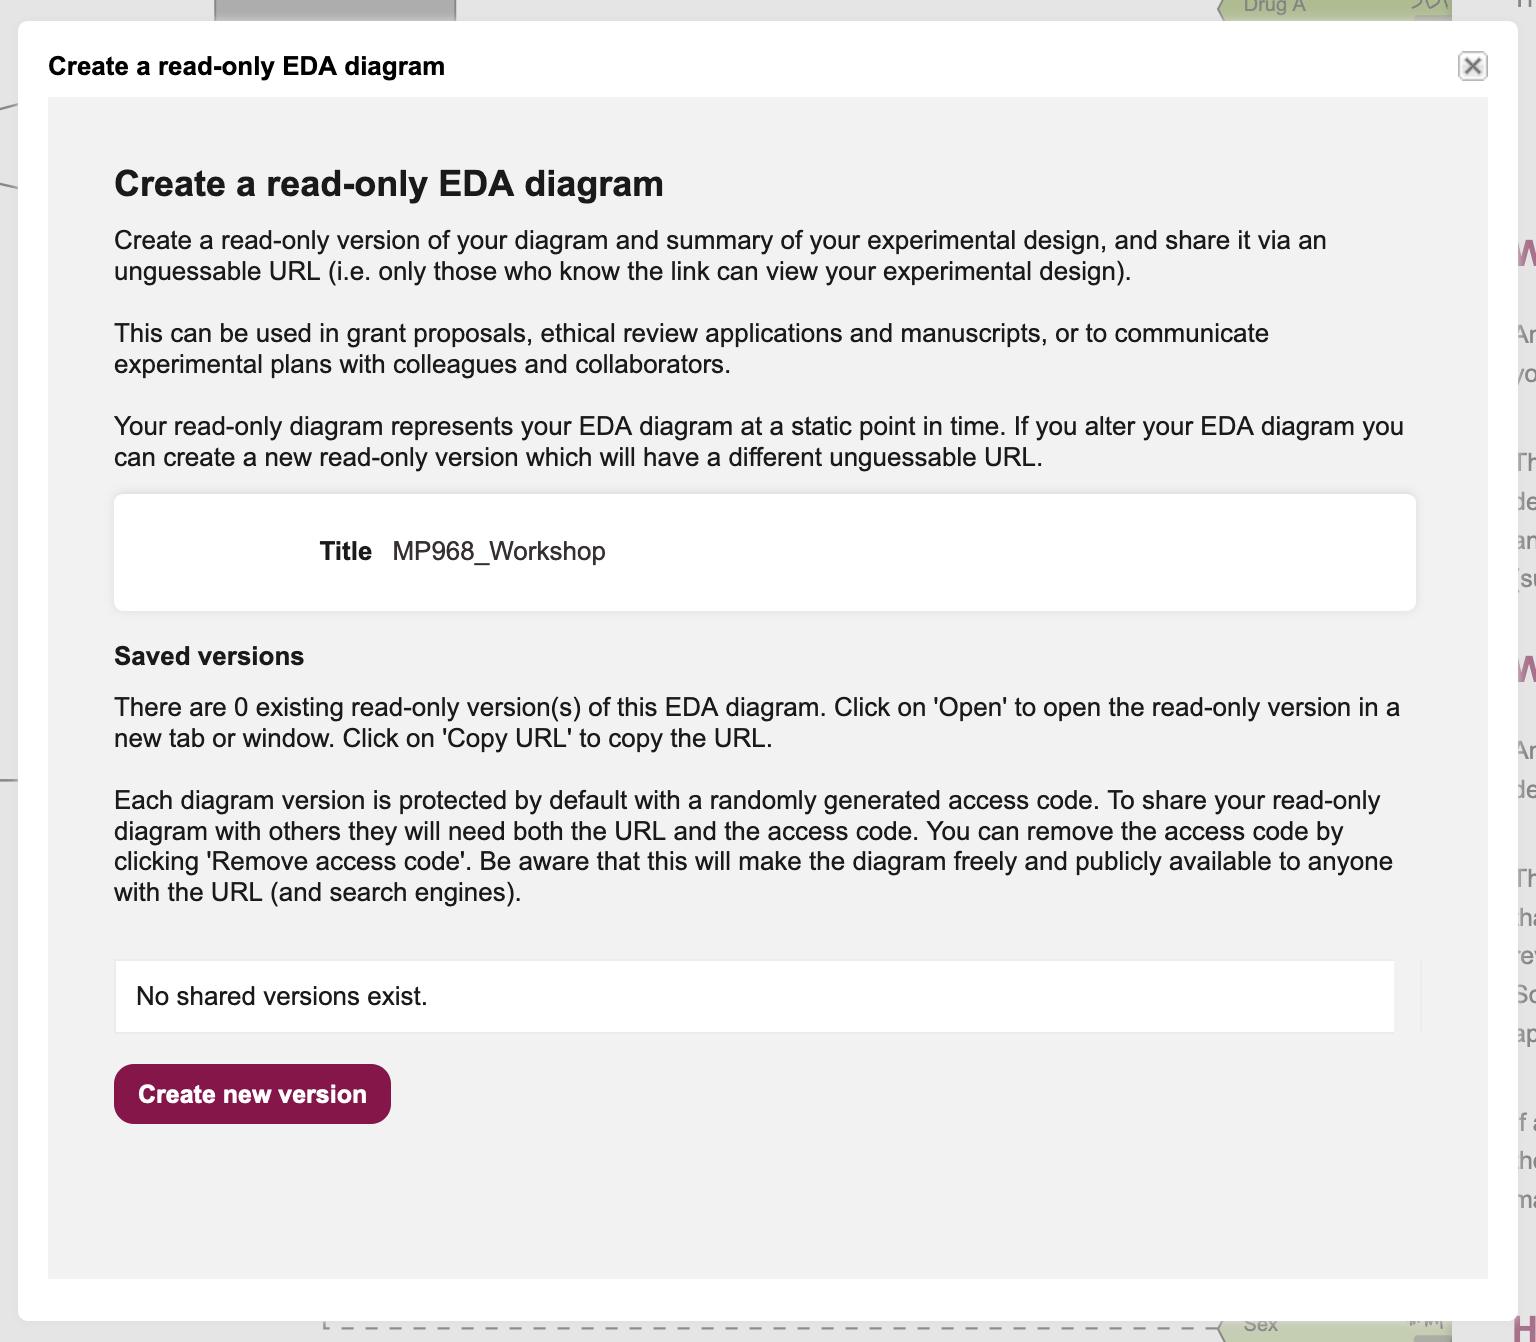
Create a read-only EDA diagramwith some useful information (Figure 24.5). Click on theCreate new versionbutton.
The read-only design link captures the state of your EDA diagram as a snapshot at this moment in time.
It is possible to modify your diagram, but this will not update the read-only version of the diagram in the link.
If you update your diagram you should always create a new corresponding read-only diagram link, and ensure that any documentation is kept up to date.
The dialogue box in Figure 24.5 will inform you if there is already an existing read-only diagram for this EDA.
- When the read-only link is created (this may take some time), the dialogue box will update with information about the read-only diagram, including a link and access code (Figure 24.6)
An example link and access code to a read-only diagram for this experiment is provided below.
- Read-only diagram link (Access code: C7IPD5FA)
If you follow the link to your read-only diagram, a new tab should open displaying both the Experimental Design Report, and the design diagram for your study (Figure 24.7)
